Introduction
Refinishing wooden furniture can breathe new life into a piece, enhancing its beauty and preserving its integrity. However, before diving into the refinishing process, it is essential to properly remove any old finishes. This step is critical to achieving a smooth, professional finish that highlights the wood’s natural grain. In this article, we will explore advanced techniques for removing old finishes, focusing on precision and joinery to ensure your furniture looks its best.
Understanding Different Types of Finishes
Before you begin, it's important to identify the type of finish you are dealing with. Common finishes include:
- Varnish: A durable finish that is hard and glossy.
- Polyurethane: Similar to varnish but often used for added durability.
- Lacquer: A fast-drying finish that produces a high-gloss sheen.
- Shellac: A natural finish that is less durable but offers a warm glow.
- Oil finishes: Such as linseed or tung oil, which penetrate the wood.
Identifying the finish will determine the best removal method.
Preparation Steps
Before you start the removal process, gather your materials. You will need:
- Protective gear (gloves, goggles, mask)
- Strippers (chemical or heat-based)
- Scrapers and putty knives
- Fine steel wool
- Sandpaper (various grits)
- Soft cloths
- Mineral spirits or denatured alcohol
Ensure your workspace is well-ventilated, especially if using chemical strippers, as they can release harmful fumes.
Advanced Techniques for Removing Finishes
Chemical Stripping
Chemical strippers are effective for removing multiple layers of finish. Here’s how to use them:
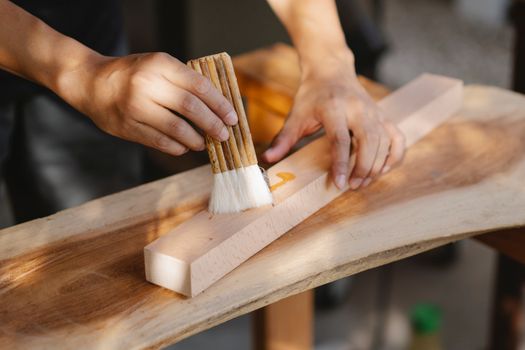
- Apply the stripper: Use a brush to apply a generous layer of stripper over the surface. Follow the manufacturer's instructions for the right amount to use.
- Wait for the finish to bubble: Allow the stripper to sit for the recommended time, usually between 15 and 30 minutes, until the finish begins to bubble and lift.
- Scrape the finish off: Use a putty knife or scraper to gently remove the softened finish. Always scrape in the direction of the grain to avoid damaging the wood.
- Repeat if necessary: For stubborn areas, you may need to apply a second coat of stripper and repeat the process.
- Clean the surface: After the finish is removed, wipe the area with mineral spirits or denatured alcohol to neutralize the stripper and clean the wood.
Heat Gun Method
If you prefer a non-chemical method, a heat gun can be highly effective:
- Set the heat gun: Adjust the heat gun to a low setting to prevent burning the wood.
- Move the gun: Hold the heat gun a few inches above the surface and move it back and forth. Be cautious and do not stay in one spot for too long.
- Scrape the finish: As the finish begins to bubble, use a scraper to gently remove it while the area is still warm.
- Finish with sanding: Once the majority of the finish is removed, use fine steel wool or sandpaper to smooth the surface.
Sanding Techniques
After the main finish is removed, sanding is crucial for achieving the desired precision:
- Start with coarse grit: Use a coarser sandpaper (around 80 grit) to remove any remaining finish and imperfections.
- Progress to finer grits: Move to medium (120 grit) and then fine (220 grit) sandpaper, ensuring to sand with the grain.
- Inspect your work: Regularly check the surface to ensure it is smooth and ready for the new finish.
Joinery Considerations
As you remove old finishes, pay attention to the joinery of your furniture. Properly removing finishes from joints is critical for maintaining structural integrity:
- Preserve the joints: Be careful around dovetails, mortise and tenon joints, and other intricate joinery. Use smaller scrapers or cotton swabs dipped in solvent for tight areas.
- Inspect for damage: As you clean each joint, inspect for any signs of wear or damage that may need repair before refinishing.
Final Steps Before Refinishing
Once all old finishes are removed and the surface is smooth, take the following steps:
- Clean the surface: Wipe down the entire piece with a damp cloth to remove any dust and debris.
- Condition the wood: Apply a wood conditioner if necessary, especially for softwoods, to ensure even absorption of the new finish.
- Choose your finish: Decide on the type of finish you want to apply, whether it's stain, oil, or a clear coat.
For detailed plans and guidance on furniture building and refinishing, consider checking out Ted Woodworking, which offers a plethora of resources for woodworking enthusiasts.
Conclusion
Removing old finishes from wooden furniture is a meticulous process that requires patience and precision. By employing the advanced techniques outlined in this article, you can ensure that your furniture is ready for a stunning new finish that showcases its natural beauty. Remember to always prioritize safety and take your time to achieve the best results.
FAQ
What is the best method for removing a thick layer of varnish?
The best method for removing a thick layer of varnish is to use a chemical stripper, as it effectively softens the finish for easier removal.
Can I use a power sander to remove finishes?
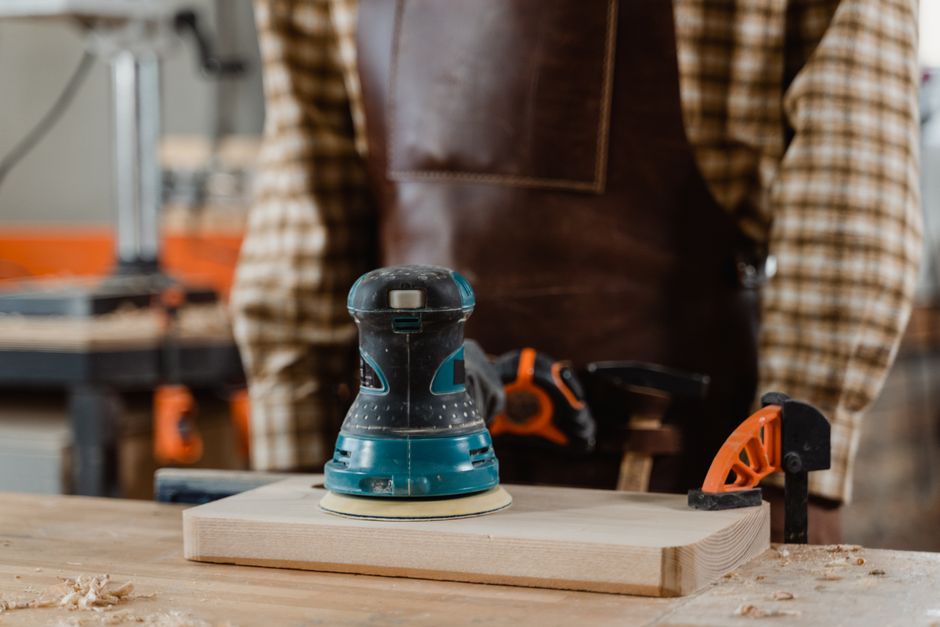
Yes, a power sander can be used, but it is essential to start with a coarser grit and be cautious around intricate joinery to avoid damaging the wood.
How can I tell if the old finish is completely removed?
Inspect the surface under good lighting; it should feel smooth and even without any sticky residue or discoloration.
📚 Related Articles
🔨 Want 16,000+ Woodworking Plans?
Get instant access to step-by-step plans with blueprints and cut lists.
Get Instant Access →