Introduction
Building a dining table can seem daunting, especially for those who are new to woodworking. However, with the right approach and just five essential tools, you can create a stunning piece of furniture that will enhance your dining experience. In this article, we will focus on advanced joinery techniques, precision, and achieving a professional finish.
Essential Tools for the Project
Before diving into the construction process, it's important to gather the five tools that will make this project manageable:
- Table Saw: For accurate cuts and ripping wide boards.
- Router: Essential for creating clean, decorative edges and joinery.
- Clamps: To secure pieces during assembly and ensure strong joints.
- Screwdriver or Drill: For fastening components together.
- Measuring Tape and Square: To ensure precision in measurements and angles.
Material Selection
The choice of wood is crucial for both aesthetics and durability. Hardwoods like oak, maple, or walnut are excellent options for a dining table due to their strength and beautiful grain patterns. Ensure that the wood is dry and properly milled to prevent warping over time.
Joinery Techniques
Joinery is the backbone of woodworking, especially when constructing a dining table. Here, we will explore three advanced joinery techniques that enhance strength and appearance:
1. Mortise and Tenon Joint
This classic joint is known for its strength and durability. To create a mortise and tenon joint:
- Using your table saw, cut the tenon on the end of the table leg.
- Create the matching mortise in the table apron using the router.
- Fit the tenon into the mortise, ensuring a snug fit for maximum strength.
2. Pocket Hole Joinery
Pocket hole joinery is another effective method, particularly for joining the table top to the aprons. It provides a clean, hidden joint:
- Set up your pocket hole jig according to the manufacturer’s instructions.
- Drill pocket holes into the ends of the table aprons.
- Attach the aprons to the table top using screws for a strong connection.
3. Dowel Joinery
Dowel joinery adds an element of precision and alignment to your project. To incorporate dowels:
- Mark the locations for the dowel holes on both the table top and the aprons.
- Drill the holes using a doweling jig for accuracy.
- Insert dowels into the holes with glue for a solid join.
Assembly Process
Once your joinery is complete, it's time to assemble the table. Follow these steps for a professional finish:
- Dry Fit: Before applying glue, dry fit all components to ensure everything aligns properly.
- Glue Up: Apply wood glue to the joints and clamp everything together securely.
- Check for Square: Use a square to ensure the table is perfectly aligned. Adjust as necessary before the glue sets.
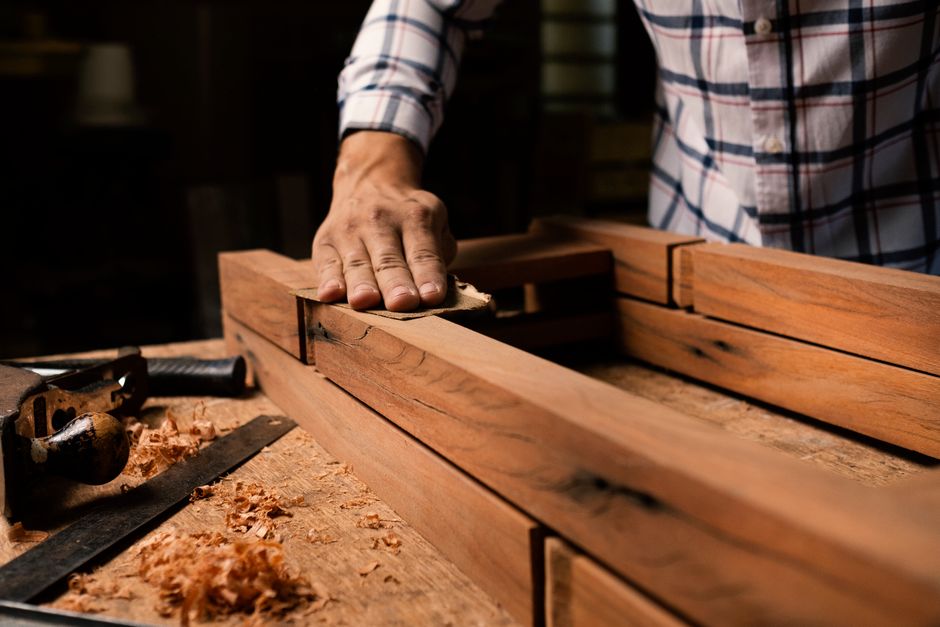
- Sanding: Once the glue has dried, sand all surfaces with progressively finer grits, starting with 80-grit and finishing with 220-grit for a smooth surface.
Finishing Touches
A proper finish not only enhances the appearance of your dining table but also protects the wood. Here are some recommended finishing techniques:
- Staining: If you choose to stain your table, apply it evenly and allow it to dry completely before applying a topcoat.
- Sealing: Use a polyurethane or lacquer finish to seal and protect the wood from moisture and wear.
- Buffing: After the final coat has dried, buff the surface with a soft cloth to achieve a beautiful sheen.
Conclusion
Building a simple dining table can be a rewarding project that enhances both your woodworking skills and your home. By focusing on advanced joinery techniques and ensuring precision throughout the construction process, you can create a piece that not only serves a functional purpose but also adds beauty to your dining space. For detailed plans and additional inspiration, consider checking out resources like Ted Woodworking.
FAQ
1. What type of wood is best for a dining table?
Hardwoods such as oak, maple, and walnut are ideal due to their durability and attractive grain patterns.
2. How long does it take to build a dining table?
The time required can vary, but expect to spend anywhere from a few days to a week, depending on your experience level and the complexity of the design.
3. Can I modify the design of my table?
Absolutely! Feel free to customize the design to fit your style, whether that means changing dimensions, adding decorative elements, or using different joinery techniques.
📚 Related Articles
🔨 Want 16,000+ Woodworking Plans?
Get instant access to step-by-step plans with blueprints and cut lists.
Get Instant Access →