Introduction
When building furniture, the finishing process is often what transforms a simple piece of wood into a stunning work of art. However, many beginners face challenges during this critical stage. Understanding how to prevent common wood finishing mistakes can make a significant difference in the final outcome of your project. In this guide, we'll take you through essential tips to ensure your furniture looks professional and polished.
Understanding the Basics of Wood Finishing
Before diving into the steps to prevent mistakes, it’s essential to understand what wood finishing entails. Wood finishing can enhance the appearance, protect the wood, and preserve its longevity. Common finishing methods include:
- Stains: Add color while allowing the wood grain to show through.
- Sealers: Provide a protective barrier against moisture and damage.
- Varnishes: Offer a durable finish that can be glossy or matte.
- Lacquers: Dry quickly and provide a hard finish.
Step 1: Proper Preparation of Wood
The first step in preventing finishing mistakes is to ensure your wood is well-prepared. Here’s how to do it:
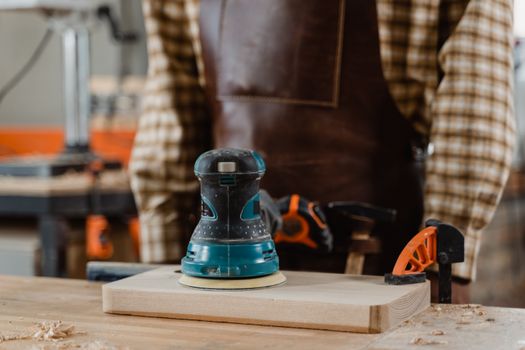
- Sanding: Start with coarse sandpaper and gradually move to finer grits. Always sand in the direction of the grain to avoid scratches.
- Cleaning: After sanding, remove dust with a vacuum or a tack cloth. This step is crucial because any dust left on the surface will mar the finish.
- Conditioning: If you’re using softwoods, consider applying a wood conditioner. This helps to prevent blotchiness when staining.
Step 2: Choosing the Right Finishing Products
Using the correct products is vital for achieving a great finish. Here are some tips:
- Read Labels: Ensure that the products you choose are compatible with each other. For example, oil-based stains work best with oil-based finishes.
- Test First: Always test your stain or finish on a scrap piece of the same wood to see how it reacts.
- Quality Matters: Invest in quality brushes and applicators. A good brush can make a significant difference in the application process.
Step 3: Applying the Finish
Application is where many mistakes occur, but following these steps can help:
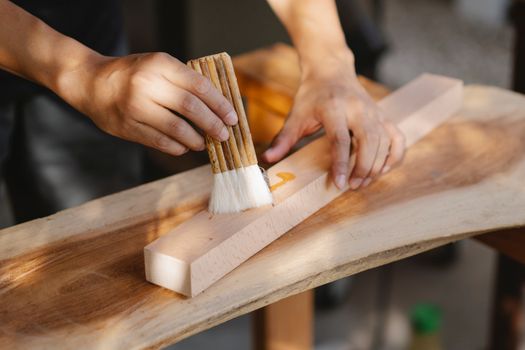
- Thin Coats: Apply thin layers of stain or finish. It’s better to do multiple thin coats than one thick coat, which can lead to drips and uneven drying.
- Follow Directions: Pay close attention to the application instructions for your specific product regarding drying times and re-coating times.
- Use Even Strokes: Whether brushing or spraying, use even strokes to avoid streaks and uneven coverage.
Step 4: Drying and Curing
Drying is a critical stage. Here’s how to prevent mistakes:
- Avoid Dust: Ensure your workspace is clean and dust-free. Use a fan to help circulate air, but avoid direct drafts that can cause dust to settle on wet finishes.
- Patience is Key: Allow sufficient drying time before applying additional coats. Rushing this process can lead to smudging or adhesion problems.
- Check for Imperfections: After drying, inspect your work. If you notice dust particles or imperfections, lightly sand the area and apply another coat.
Step 5: Final Touches
Once your final coat is dry, there are a few steps to ensure your finish is perfect:
- Polishing: For a smooth finish, consider polishing with a soft cloth or fine steel wool.
- Inspection: Check for any missed spots or blemishes and touch them up as needed.
- Final Cure: Allow your finished piece to cure fully before using it. This can take several days depending on the type of finish used.
Resources for Woodworking Plans
If you're looking for detailed plans to guide your furniture building projects, consider checking out Ted Woodworking. They offer a vast array of woodworking plans that cater to all skill levels, making it easier to embark on your next project.
Conclusion
Finishing your furniture can be a rewarding experience when done correctly. By following these steps, you can avoid common mistakes and achieve a beautiful finish that enhances your woodworking projects. Remember, practice makes perfect, so don’t be discouraged if your first few attempts don’t turn out as expected. Keep refining your technique, and your skills will grow!
FAQ
What is the best wood finish for beginners?
For beginners, water-based finishes are often recommended due to their ease of use, quick drying time, and low odor.
How long should I wait between coats of finish?
Typically, it’s best to wait at least 2-4 hours between coats, but always check the product instructions for specific guidance.
Can I apply a finish over an old finish?
Yes, but it’s crucial to sand the old finish lightly to promote adhesion. Make sure the surface is clean and free of any contaminants before applying a new finish.
📚 Related Articles
🔨 Want 16,000+ Woodworking Plans?
Get instant access to step-by-step plans with blueprints and cut lists.
Get Instant Access →