Introduction
Preparing wood for finishing is a crucial step in any woodworking project. It not only enhances the final look of your furniture but also ensures the longevity of the finish. In this article, we will explore seven essential steps to prepare wood for finishing, with a focus on budget-friendly tips and affordable materials.
1. Choose the Right Wood
Not all wood is created equal when it comes to finishing. For budget builds, consider using softer woods like pine or poplar. These woods are generally less expensive and easier to work with. However, they may require a bit more preparation to achieve a smooth finish.
2. Select Your Tools Wisely
Investing in the right tools can save you both time and money. For preparing wood, you will need:
- Sandpaper: A range of grits from coarse to fine.
- Wood Scraper: Useful for removing imperfections.
- Saw: A good quality saw for rough cuts.
- Clamps: To hold pieces securely while working.
Look for affordable options at local hardware stores or online to keep your costs down.
3. Cut Your Wood to Size
Before starting the finishing process, cut your wood to the desired dimensions. This will make it easier to handle and work on. Measure twice and cut once to avoid waste.
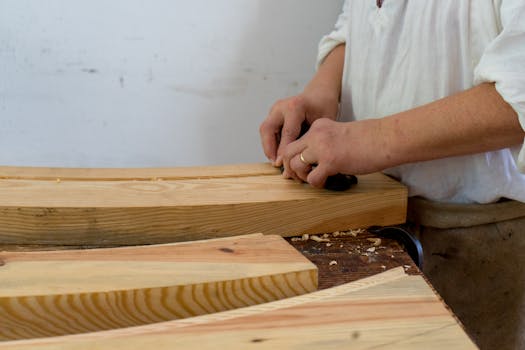
4. Remove Imperfections
Inspect your wood for any imperfections, such as knots, scratches, or dents. Use a wood scraper to remove any major blemishes. For smaller imperfections, sand the area lightly with coarse sandpaper to ensure a smooth surface.
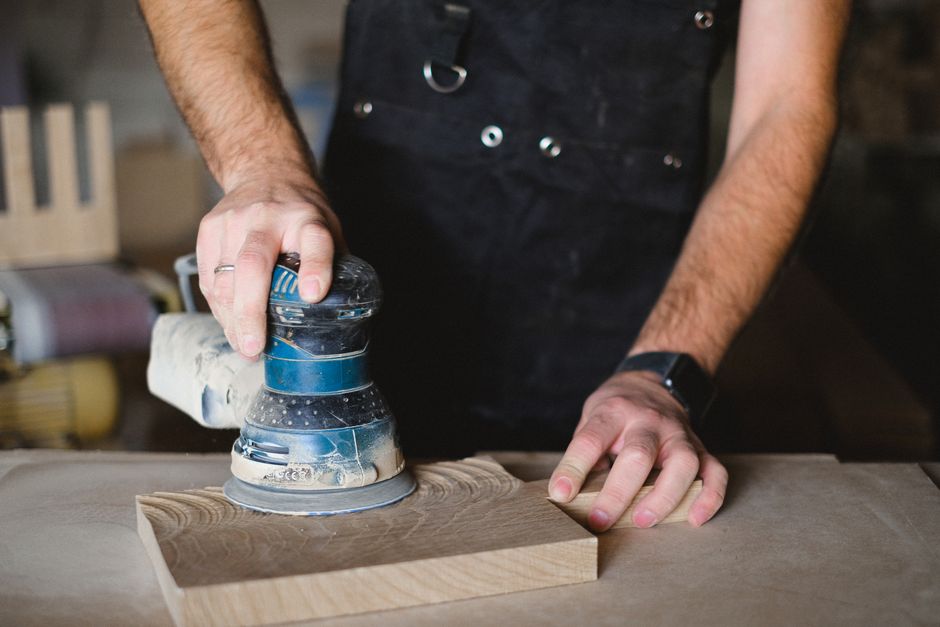
5. Sand the Wood
Sanding is one of the most critical steps in preparing wood for finishing. Start with coarse sandpaper (around 80-grit) to remove rough spots and then gradually move to finer grits (up to 220-grit or higher). Here’s a simple sanding method:
- Coarse Sanding: Use 80-grit sandpaper to initially smooth the surface.
- Medium Sanding: Follow up with 120-grit sandpaper to refine the surface.
- Fine Sanding: Finish with 220-grit or finer for a silky smooth finish.
Always sand in the direction of the wood grain to avoid scratches that can show through your finish.
6. Clean the Surface
Once sanding is complete, it’s essential to clean the wood thoroughly. Dust and debris can interfere with the finishing process. Use a vacuum with a brush attachment to remove dust from the surface, followed by a damp cloth to pick up any remaining particles.
7. Apply a Pre-Stain Conditioner (Optional)
If you are using softwoods or woods that tend to absorb stain unevenly, consider applying a pre-stain conditioner. This product helps to ensure an even finish and enhances the wood's natural beauty. It is an affordable way to improve your final results without breaking the bank.
Conclusion
Preparing wood for finishing doesn’t have to be an expensive or complex process. By following these seven essential steps, you can achieve a beautiful and durable finish on your furniture while keeping your budget in check. For those looking for detailed plans and projects, consider checking out Ted Woodworking, a fantastic resource for woodworking enthusiasts.
FAQ
1. What is the best type of sandpaper to use for preparing wood?
For preparing wood, it’s best to use a progression of sandpaper grits. Start with 80-grit for coarse sanding, move to 120-grit for medium sanding, and finish with 220-grit or finer for a smooth surface.
2. Do I really need to clean the wood after sanding?
Yes, cleaning the wood after sanding is essential. Dust and debris can affect how the finish adheres and looks, so it's important to remove all particles before applying any finish.
3. Is a pre-stain conditioner necessary?
A pre-stain conditioner is not always necessary but is highly recommended for softwoods or woods that tend to absorb stain unevenly. It helps to achieve a more uniform finish.
📚 Related Articles
🔨 Want 16,000+ Woodworking Plans?
Get instant access to step-by-step plans with blueprints and cut lists.
Get Instant Access →