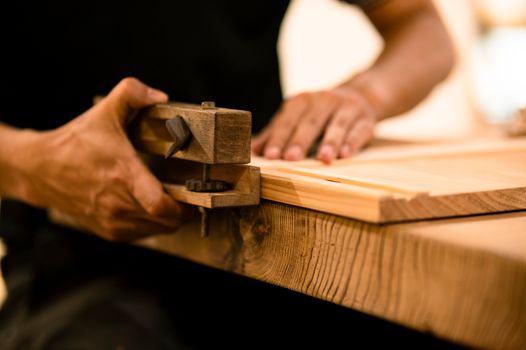
Introduction to Dowel Joinery
When it comes to building furniture, strength and aesthetics are key considerations. One of the most effective and budget-friendly ways to achieve both is through the use of dowels. Dowel joints provide a strong connection between pieces while remaining hidden from view, making them ideal for both structural integrity and visual appeal.
What Are Dowels?
Dowels are cylindrical rods, typically made of wood, that are used to reinforce joints. They come in various sizes and can be made from different materials, but for furniture building, wooden dowels are the most common choice. They work by fitting into holes drilled into the adjoining pieces, creating a solid bond when glued.
Benefits of Using Dowels
- Strength: Dowels provide a strong mechanical connection that is often stronger than screws or nails.
- Hidden Joints: Dowels can be positioned so that they are concealed from view, resulting in a cleaner finish.
- Cost-Effective: Wooden dowels are inexpensive compared to other joinery methods, making them ideal for budget builds.
- Easy to Use: With the right tools and a bit of practice, dowel joinery can be mastered by anyone.
Tools and Materials You Will Need
Before you start, gather the following tools and materials:
- Wooden Dowels: Choose dowels that match the thickness of your projects.
- Drill and Drill Bits: A drill is essential for creating the holes for your dowels. A doweling jigs can help ensure precision.
- Wood Glue: Use a strong adhesive to bond the dowels securely.
- Clamps: These will help hold your joints together while the glue dries.
- Measuring Tools: Ensure accurate measurements for your dowel placements.
Steps to Create Dowel Joints
Follow these steps to create strong and hidden dowel joints:
Step 1: Measure and Mark
Begin by measuring and marking where you want your dowel joints to be. Ensure that your marks are level and evenly spaced on both pieces of wood.
Step 2: Drill the Holes
Using your drill and the correct-sized bit, carefully drill holes into the marked spots. For best results, use a doweling jig to maintain alignment and depth control.
Step 3: Cut the Dowels
Cut your dowels to the desired length. A good rule of thumb is to make them about 1.5 times the diameter of the dowel for optimal strength.
Step 4: Apply Glue
Apply wood glue to the holes and the ends of the dowels. Be generous but avoid excess glue that can squeeze out when you insert the dowels.
Step 5: Insert the Dowels
Carefully insert the dowels into the holes, ensuring they fit snugly. Align the two pieces of wood, and push them together.
Step 6: Clamp and Dry
Use clamps to hold the pieces tightly together while the glue dries. Follow the glue manufacturer's instructions for drying time.
Step 7: Sand and Finish
Once the glue has dried, remove the clamps and sand the joints to create a smooth surface. You can then apply your desired finish, whether it be paint, stain, or varnish.
Cost-Saving Tips
Building furniture with dowel joints can be done on a budget. Here are some tips to keep costs down:
- Buy Lumber in Bulk: If you are planning multiple projects, buying larger quantities of wood can save you money.
- Use Reclaimed Wood: Salvaged wood can often be found at a fraction of the price and adds character to your furniture.
- DIY Dowel Jigs: Instead of purchasing expensive jigs, consider making your own with scrap wood.
- Affordable Plans: Resources like Ted Woodworking offer affordable furniture plans that can guide you in your builds.
Conclusion
Using dowels for furniture joints is a smart choice for both strength and aesthetics. With some basic tools, affordable materials, and a little practice, you can create durable and beautiful furniture pieces without breaking the bank. So grab your tools and start building!
FAQ
1. Can I use dowels for outdoor furniture?
Yes, but make sure to use weather-resistant wood and glue to ensure durability against the elements.
2. How do I know what size dowel to use?
Typically, a dowel should be about 1/3 the thickness of the wood it is joining. Common sizes range from 1/4" to 1/2" in diameter.
3. How long should I wait for the glue to dry?
Most wood glues require at least 30 minutes to set and up to 24 hours for a full cure, depending on the type of glue used.
📚 Related Articles
🔨 Want 16,000+ Woodworking Plans?
Get instant access to step-by-step plans with blueprints and cut lists.
Get Instant Access →