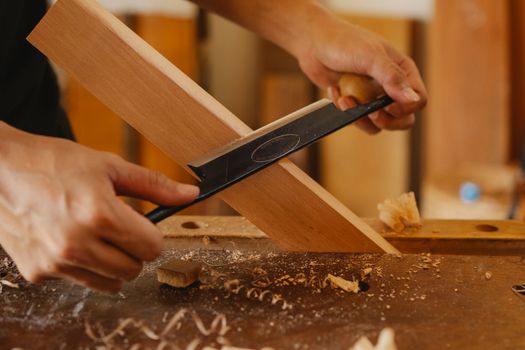
Introduction to Floating Storage Shelves
Floating storage shelves are a fantastic way to maximize space while adding a touch of style to your home. These shelves are not only functional, but they can also serve as decorative elements that elevate your interior design. In this article, we will explore the process of creating floating storage shelves, focusing on budget-friendly methods and materials.
Materials Needed
Before diving into the building process, it’s important to gather all the necessary materials. Here’s a list of items you will need:
- Wood Boards: Plywood or pine boards are affordable options for building shelves.
- Brackets: Hidden brackets or L-brackets that will support the shelves.
- Screws: To attach the brackets securely to the wall.
- Wood Glue: For added stability and strength.
- Sandpaper: To smooth out the edges of the wood.
- Paint or Stain: To finish and protect the wood, enhancing its appearance.
- Drill and Drill Bits: For making holes in the wood and wall.
- Level: To ensure your shelves are straight.
- Measuring Tape: For accurate measurements.
- Safety Gear: Safety glasses and dust mask for protection while working.
Step-by-Step Process
Now that we have our materials ready, let’s go through the step-by-step process of creating floating storage shelves.
1. Planning and Measuring
Start by deciding where you want to install your floating shelves. Use a measuring tape to determine the height and length of the shelves. Consider the items you plan to store on them to ensure they are adequately sized.
2. Cutting the Wood
Once you have your measurements, it’s time to cut the wood to size. If you don’t have a saw at home, most home improvement stores will cut the wood for you at little or no extra cost. This is a great way to save on tools.
3. Sanding the Edges
After cutting, use sandpaper to smooth out the edges and surfaces of the wood. This step is crucial to avoid splinters and to prepare the wood for finishing.
4. Finishing the Wood
Apply paint or stain to the wood, depending on your desired look. Stain can enhance the natural beauty of the wood, while paint can add a pop of color. Make sure to let the finish dry completely before moving on to the next step.
5. Installing the Brackets
Decide where you will attach the brackets on the wall. Use a level to mark straight lines for accurate installation. If using hidden brackets, you will need to drill holes into the wall and secure the brackets with screws. For L-brackets, you will attach them directly to the wall first.
6. Attaching the Shelves
Once the brackets are installed, carefully place the shelves on top. If using hidden brackets, you might need to slide the shelf onto the bracket. Ensure everything is level and secure.
7. Final Touches
Double-check that the shelves are sturdy. You can add additional screws or wood glue for extra support if necessary. Finally, arrange your decorative items or storage bins on the shelves.
Cost-Saving Tips
Building floating storage shelves can be a budget-friendly project if you follow these tips:
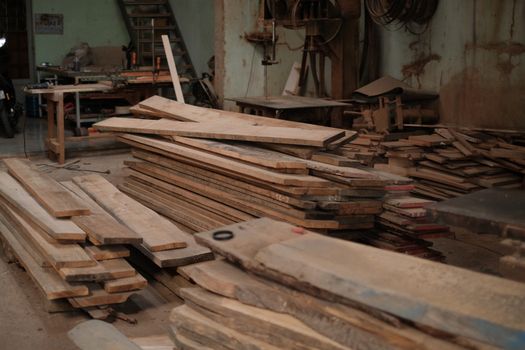
- Use Reclaimed Wood: Look for reclaimed wood from old furniture or pallets. This can significantly reduce your material costs.
- Shop Sales: Keep an eye out for sales at local hardware stores or online. Buying materials in bulk can also lead to savings.
- DIY Brackets: If you’re feeling crafty, consider making your own brackets from wood instead of buying them.
- Use Simple Finishes: Instead of expensive stains or paints, opt for basic colors or sealers that are cost-effective yet effective.
- Measure Twice, Cut Once: Avoid wasting materials by double-checking measurements before cutting.
- Find Free Plans: Resources like Ted Woodworking offer free plans and guides that can help you build your shelves without any additional costs.
Conclusion
Creating floating storage shelves is a rewarding project that adds both functionality and style to any room. With the right materials and a little bit of time, you can build affordable shelves that meet your storage needs. Remember to keep cost-saving tips in mind throughout the process, and don’t hesitate to explore resources like Ted Woodworking for inspiration and guidance.
FAQ Section
1. How much weight can floating shelves hold?
The weight capacity of floating shelves depends on the brackets used and how well they are installed. Generally, heavier-duty brackets can hold between 50 to 100 pounds, but always check the specifications.
2. Can I install floating shelves in my kitchen?
Yes! Floating shelves are great for kitchens, providing space for spices, cookbooks, or decorative items. Just ensure they are installed securely to handle any weight.
3. What type of wood is best for floating shelves?
Pine, plywood, or even hardwood like oak or maple are excellent choices. Pine is usually the most affordable and widely available, making it a popular option for budget builds.
📚 Related Articles
🔨 Want 16,000+ Woodworking Plans?
Get instant access to step-by-step plans with blueprints and cut lists.
Get Instant Access →