Introduction
A multi-functional storage bench serves as a perfect combination of seating and storage, making it a versatile addition to any home. In this article, we will guide you through the process of building your own storage bench, focusing on advanced joinery techniques and achieving a professional finish. Whether you're looking to enhance your entryway, living room, or garden, this project will provide both functionality and aesthetic appeal.
Materials Needed
- 3/4" plywood for the bench top and sides
- 1x4 or 1x6 boards for the frame
- Wood glue
- Wood screws (1.5" and 2.5")
- Sanding block or power sander
- Wood finish (paint or stain)
- Hinges (if you want a lift-top storage feature)
Tools Required
- Table saw or circular saw
- Miter saw
- Drill/driver
- Clamps
- Square
- Measuring tape
Step-by-Step Instructions
Step 1: Planning and Measuring
Start by determining the dimensions of your storage bench based on your available space. A common size is around 48" long, 18" deep, and 18" high. Draw up your plans including the cut list for each component. You can find detailed plans and drawings from resources like Ted Woodworking to ensure your design is precise.
Step 2: Cutting the Pieces
Using a table saw or circular saw, cut the plywood and 1x boards according to your cut list. Take your time with this step, as precision in cutting will ensure tight joints and a clean finish.
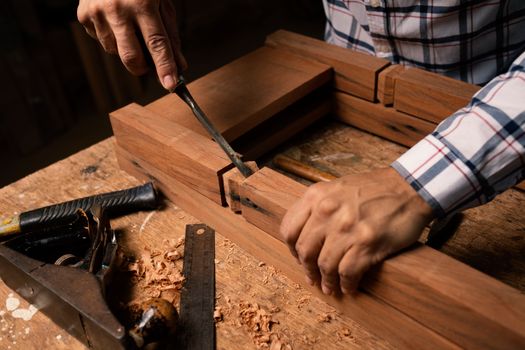
Step 3: Joinery Techniques
For a professional-quality storage bench, consider using advanced joinery techniques:
- Mortise and Tenon Joints: This classic technique provides strong connections between the frame and the bench top. Cut mortises in the side panels using a chisel and drill, and create matching tenons on the ends of your frame pieces.
- Pocket Hole Joinery: For a quicker assembly, pocket hole screws can be used to secure the frame. This method is not only fast but also allows for easy disassembly if needed.
- Dado Joints: If you are incorporating shelves, dado joints will provide excellent support. Cut dados into the side panels to create a snug fit for the shelves.
Step 4: Assembling the Frame
Start by assembling the frame using your chosen joinery technique. Ensure that everything is square by measuring diagonally across the frame. Use clamps to hold pieces together while drilling pilot holes and driving in screws. This will help prevent wood from splitting.
Step 5: Attaching the Top
Once the frame is assembled, attach the top. If you are opting for a lift-top design, install the hinges along the back edge. Ensure that the top fits snugly and operates smoothly. Sand any rough edges to ensure a clean transition between the top and the frame.
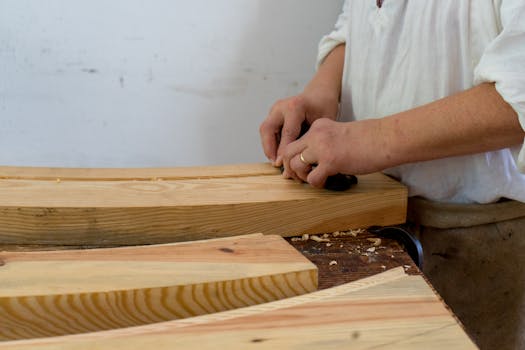
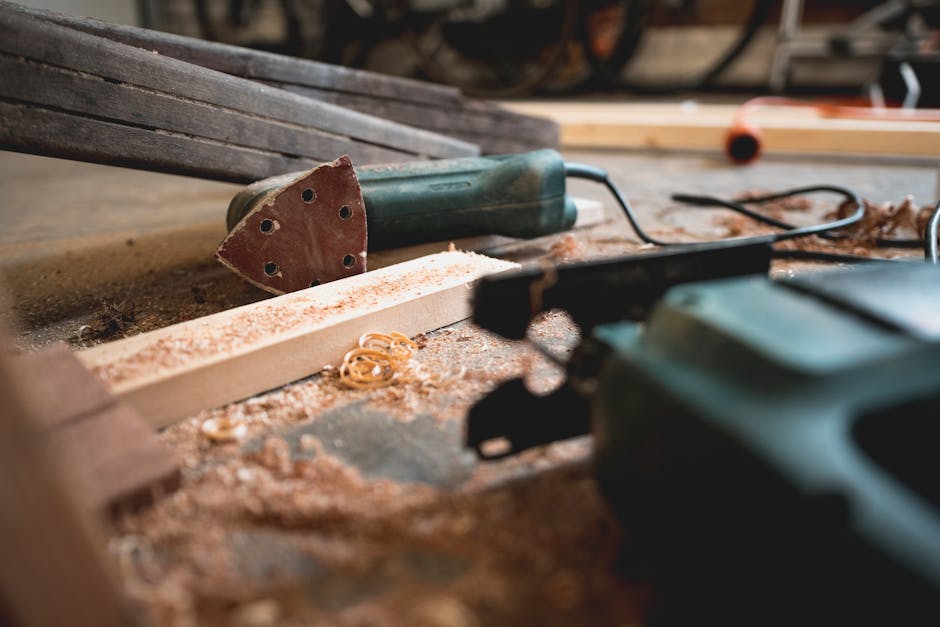
Step 6: Sanding and Finishing
Before applying your finish, sand the entire bench starting with 120 grit and progressing to 220 grit sandpaper. Pay special attention to corners and edges to achieve a smooth surface. After sanding, clean the dust off using a damp cloth.
Apply your chosen finish—whether it’s a stain for a natural look or paint for a pop of color—using a brush or cloth. If staining, consider applying a clear coat for added protection. Allow sufficient drying time between coats according to the manufacturer’s instructions.
Step 7: Final Assembly and Touch-Ups
Once the finish has dried, perform any final assembly needed, such as attaching handles or installing a cushion on top. Check for any rough spots and sand them down, then apply a touch-up finish where necessary.
Conclusion
Building a multi-functional storage bench is a rewarding woodworking project that combines functionality with style. By employing advanced joinery techniques and a focus on precision, you can create a piece that will last for years while adding character to your space. Remember to refer to reliable plans, such as those offered by Ted Woodworking, to guide you through the process.
FAQs
What type of wood is best for a storage bench?
Plywood is often used for the body due to its stability, while solid hardwood like oak or maple is excellent for the frame and top for durability and aesthetics.
Can I modify the dimensions of the bench?
Absolutely! Adjust the dimensions to fit your specific space. Just ensure that all proportions are kept in harmony for stability and aesthetics.
How can I maintain the finish on my storage bench?
Regularly clean your bench with a soft, damp cloth and reapply a protective finish every couple of years to maintain its appearance and durability.
📚 Related Articles
🔨 Want 16,000+ Woodworking Plans?
Get instant access to step-by-step plans with blueprints and cut lists.
Get Instant Access →