Introduction
Building outdoor furniture that can withstand all seasons is a rewarding project for both novice and experienced woodworkers. With the right materials and proper techniques, you can create beautiful pieces that endure the elements. In this guide, we will explore the essential steps to construct outdoor furniture that lasts year-round, focusing on joinery and assembly techniques.
Choosing the Right Materials
One of the most critical aspects of building durable outdoor furniture is selecting materials that resist moisture, temperature fluctuations, and UV rays. Here are some popular choices:
- Cedar: Naturally resistant to decay and insects, cedar is lightweight and easy to work with.
- Redwood: Known for its beauty and durability, redwood is another excellent option for outdoor projects.
- Teak: Highly resistant to water and decay, teak is a premium choice but comes with a higher price tag.
- Pressure-treated pine: This affordable option can last long when properly sealed and maintained.
Essential Tools for Your Project
Before starting your outdoor furniture project, gather the following basic tools:
- Measuring tape: Accurate measurements are crucial for a successful build.
- Circular saw: Perfect for cutting large pieces of wood to size.
- Drill/driver: Essential for making holes and driving screws.
- Screwdriver: For any hand-tightening that may be needed.
- Clamps: Help secure pieces while the glue dries or while you work on assembly.
- Sandpaper: For smoothing out rough edges and surfaces.
- Wood glue: Provides strength to joints in addition to screws.
Joinery Techniques
Strong joinery is crucial for the longevity of outdoor furniture. Here are some beginner-friendly joinery techniques to consider:
1. Butt Joint
The simplest joint, where two pieces of wood are butted together and fastened with screws or nails. While easy to make, it is not the strongest option for outdoor furniture without additional support.
2. Pocket Hole Joint
This joint uses a special jig to drill angled holes in one piece of wood, allowing screws to be driven into the adjoining piece. It provides a strong, hidden joint that works well for most furniture.
3. Mortise and Tenon Joint
A traditional and strong joint, where a protrusion (tenon) on one piece fits into a hole (mortise) on another. This joint requires more skill but offers superior strength.
Step-by-Step Building Process
Now that you have chosen your materials and tools, follow these steps to construct your outdoor furniture:
Step 1: Plan Your Design
Before cutting any wood, sketch your furniture design. Simple designs like benches or tables are great for beginners. You can also find detailed plans at resources like Ted Woodworking, which provides a variety of outdoor furniture designs.
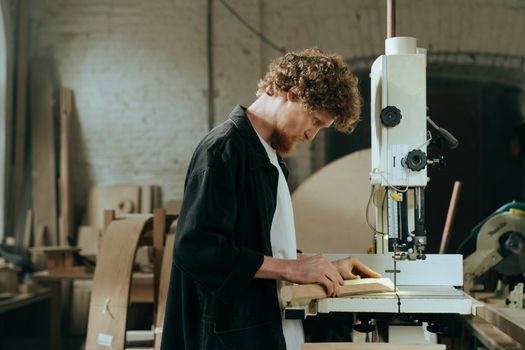
Step 2: Measure and Cut Wood
Using your measuring tape, mark your wood according to your design. Take your time with measurements to ensure pieces fit together well. Use your circular saw to make straight cuts.
Step 3: Assemble the Frame
Start by assembling the frame of your furniture. Use the joinery techniques discussed earlier, such as pocket holes or butt joints, to connect pieces. Secure them using wood glue and screws for added strength.
Step 4: Add Surface and Supports
Once the frame is complete, attach the surface of your furniture. For tables, this means adding the tabletop, while for benches, it may involve adding seat slats. Ensure all surfaces are well supported.
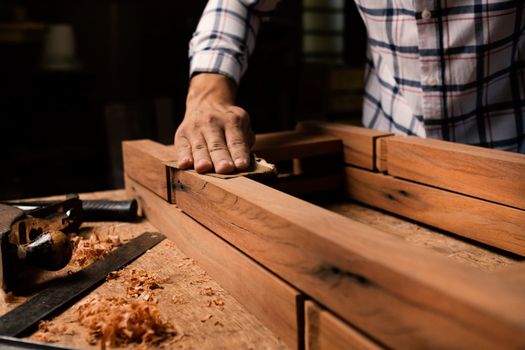
Step 5: Sand and Finish
Smooth out all edges and surfaces with sandpaper. This step is vital as it prevents splinters. After sanding, apply a protective finish, such as an outdoor sealant or paint, to protect against moisture and UV rays.
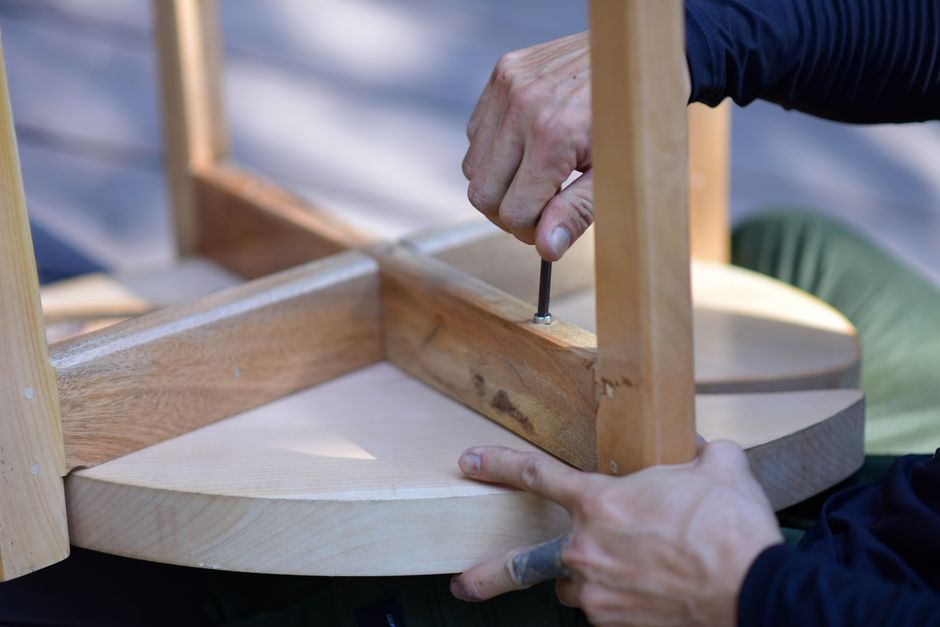
Step 6: Final Assembly and Inspection
Once the finish has dried, do a final assembly check. Tighten any loose screws and ensure everything is stable. Your outdoor furniture is now ready to withstand the elements!
Maintenance Tips for Longevity
To ensure your outdoor furniture lasts through all seasons, consider the following maintenance tips:
- Regularly clean the furniture to remove dirt and debris.
- Reapply protective finishes annually to maintain water resistance.
- Store furniture indoors during harsh weather conditions when possible.
- Inspect for any signs of wear or damage and repair promptly.
Conclusion
Building outdoor furniture that lasts through all seasons is achievable for beginners with the right materials, tools, and techniques. By focusing on strong joinery and proper assembly, you can create beautiful and functional pieces that enhance your outdoor living space. Happy woodworking!
Frequently Asked Questions
1. What wood is best for outdoor furniture?
Cedar and redwood are excellent choices due to their natural resistance to decay. Teak is also a premium option if budget allows.
2. How can I protect my outdoor furniture from the elements?
Applying a protective sealant or finish can help guard against moisture and UV damage. Consider storing furniture indoors during extreme weather.
3. Can I use regular screws for outdoor furniture?
It is best to use stainless steel or coated screws designed for outdoor use to prevent rust and corrosion.
📚 Related Articles
🔨 Want 16,000+ Woodworking Plans?
Get instant access to step-by-step plans with blueprints and cut lists.
Get Instant Access →