How to Build a Wooden Toy Storage Chest: A Step-by-Step Guide
Are you tired of cluttered playrooms and scattered toys? Building a wooden toy storage chest can be a fantastic solution for toy organization while also adding a stylish touch to your children's furniture. In this comprehensive guide, we will walk you through the process of crafting a toy chest that is not only functional but also aesthetically pleasing.
Why Build a Toy Storage Chest?
A DIY wooden toy storage chest offers several benefits:
- Customizable Design: You can tailor the design to fit your space and style.
- Durability: Wooden storage furniture is robust and can withstand the wear and tear of daily use.
- Fun and Functional: A well-designed toy chest can encourage kids to keep their toys organized.
Step-by-Step Guide to Building a Wooden Toy Storage Chest
Follow this step-by-step toy storage chest guide to create your own DIY storage chest for toys:
Materials Needed
- Wood boards (pine, oak, or your preferred wood)
- Wood screws
- Wood glue
- Sandpaper
- Wood finish or paint
- Hinges
- Handles (optional)
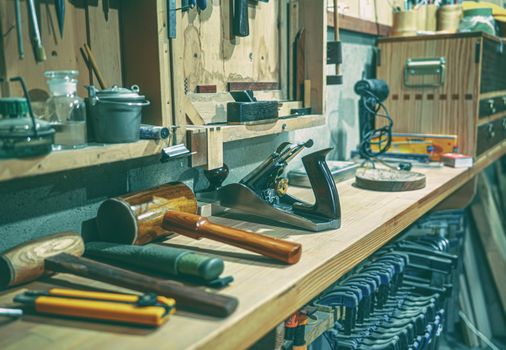
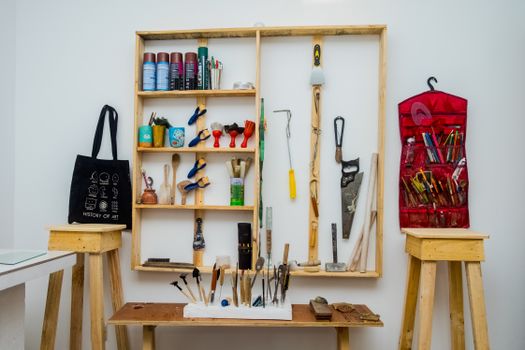
Tools Required
- Table saw or circular saw
- Drill
- Screwdriver
- Measuring tape
- Clamps
Step 1: Plan Your Design
Start by sketching out your storage chest design. Consider dimensions that will suit your space and how many toys you need to store. For easy wooden toy chest plans, aim for a size of 36” long, 18” deep, and 18” high.
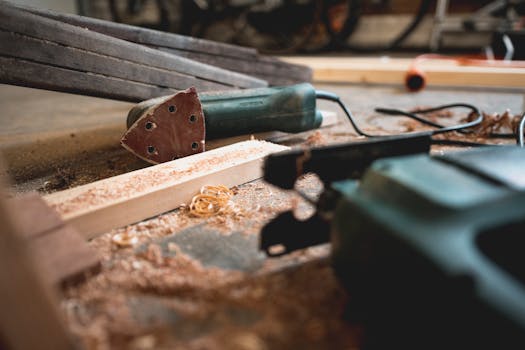
Step 2: Cut the Wood
Using your saw, cut the wood boards according to your design. You will need pieces for the top, bottom, sides, and back of the chest.
Step 3: Assemble the Frame
Begin by attaching the sides to the bottom using wood screws and wood glue. Make sure everything is square and flush. Use clamps to hold the pieces together while they dry.
Step 4: Attach the Back and Front
Next, attach the back piece to the frame, followed by the front piece. The front should be designed to allow for easy access to toys. Consider adding a lip or a decorative edge.
Step 5: Create the Lid
Cut a piece of wood for the lid, ensuring it fits over the top of the chest. Sand the edges to avoid splinters. Attach the lid with hinges to allow it to open easily.
Step 6: Finish the Toy Chest
Once assembled, sand the entire chest to create a smooth finish. You can then paint or stain the wood to match your home decor. This is a great time to personalize it with your child’s name or favorite colors.
Step 7: Add Handles
If desired, attach handles to the sides for easy maneuverability. This will also make it easier for kids to access their toys.
Practical Tips for Building Your Toy Storage Chest
- Always measure twice and cut once to avoid mistakes.
- Use a level to ensure your chest is even and stable.
- Consider using eco-friendly finishes to keep your children safe.
FAQ
1. What type of wood is best for a toy storage chest?
Pine is a popular choice due to its affordability and ease of work. However, hardwoods like oak or maple provide durability and a more refined look.
2. How can I personalize my toy chest?
You can personalize your toy chest by painting it in your child’s favorite colors, adding decals, or engraving their name on the front.
3. Where can I find more woodworking techniques?
For more woodworking techniques, consider checking resources like Ted's Woodworking for a plethora of plans and tips.
Conclusion
Building a wooden toy storage chest is a rewarding project that can enhance your home storage solutions while providing a fun and functional space for your child’s toys. By following this guide, you can create a beautiful piece of DIY wooden furniture that will last for years. For more inspiring projects, check out our article on how to Create Your Own DIY Wooden Entryway Storage Bench for Stylish Organization and DIY Wooden Shelving Unit Plans: A Step-by-Step Guide for Affordable Storage Solutions.
🔨 Want 16,000+ Woodworking Plans?
Ted's Woodworking gives you instant access to over 16,000 step-by-step plans with detailed blueprints, cut lists, and material lists for every project.
Get Instant Access →