Introduction
Are you looking to maximize your space with stylish and functional DIY furniture? Creating a wooden shelving unit is an excellent way to enhance your home storage solutions. Not only do you get to customize the design and dimensions to fit your specific needs, but you also gain the satisfaction of completing a woodworking project on your own. In this article, we’ll guide you through easy DIY shelving unit plans, tips on wood types for shelving, and essential woodworking tools you'll need for shelf construction.
Step-by-Step Guide to Building a Wooden Shelving Unit
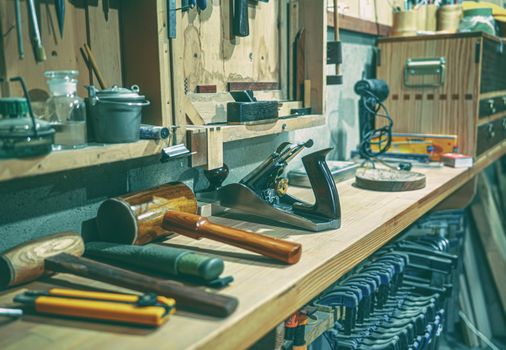
Step 1: Gather Your Materials
- Quality wood (choose from plywood, pine, or oak)
- Screws and brackets for shelving installation
- Wood glue
- Sandpaper (various grits)
- Wood stain or paint for finishing
Step 2: Plan Your Dimensions
Before cutting any wood, determine the shelving unit dimensions that will best suit your space. Measure the area where you intend to install the shelves and decide the height and width of your unit. For small spaces, consider making narrow, tall shelves to utilize vertical space effectively.
Step 3: Cut Your Wood
Using your woodworking tools, cut the wood according to your planned dimensions. Remember to be precise with your measurements to ensure that your custom wooden shelf designs fit perfectly together.
Step 4: Assemble the Unit
Start by attaching the shelves to the side panels using wood glue and screws. Make sure each shelf is level and evenly spaced. Depending on your design, you can incorporate additional supports using brackets for added stability.
Step 5: Finish the Shelves
Once your unit is assembled, it’s time for the finishing touches. Sand the surfaces to smooth out any rough edges. Then, apply your preferred shelf finishing techniques, such as staining or painting, to enhance the aesthetics of your new shelving unit.
Step 6: Install Your Shelving Unit
Finally, carefully install your shelving unit in the desired location. Ensure it is securely fastened to the wall if necessary for safety.
Practical Tips for Building Your Shelving Unit
- Choose the Right Wood: Plywood is a cost-effective choice, while hardwoods like oak offer durability and a classic look.
- Consider Adjustable Shelves: If you want flexibility, design shelves that can be adjusted to different heights.
- Use Quality Hardware: Invest in strong brackets and screws to ensure your unit can hold the weight of your items.
Frequently Asked Questions
1. What wood types are best for shelving?
Plywood, pine, oak, and maple are popular choices for shelving due to their strength and availability.
2. Can I build a shelving unit without advanced woodworking tools?
Yes! Basic tools like a saw, drill, and screwdriver are sufficient for most DIY shelving unit plans. For more complex designs, consider investing in a few additional tools.
3. How do I maintain my wooden shelves?
Regularly dust and clean your shelves. Depending on the finish, you may need to reapply stain or paint every few years to keep them looking fresh.
Conclusion
Building your own wooden shelving unit is a rewarding project that can provide valuable home storage solutions. With the right materials and a step-by-step approach, you can create a beautiful and functional space. For more detailed plans and designs, consider checking out resources like Ted's Woodworking. Happy woodworking!
If you enjoyed this article, you might also want to read our guide on how to Create Your Own DIY Wooden Entryway Storage Bench for Stylish Organization.
🔨 Want 16,000+ Woodworking Plans?
Ted's Woodworking gives you instant access to over 16,000 step-by-step plans with detailed blueprints, cut lists, and material lists for every project.
Get Instant Access →