Introduction to Building a Wooden Patio Table
Building a wooden patio table can be a fun and rewarding DIY project that adds a personal touch to your outdoor space. With the right tools and materials, you can create a beautiful and functional table that will last for years to come. In this article, we will guide you through the process of building a wooden patio table, from planning and design to construction and finishing.
Planning and Design
Before you start building your patio table, it's essential to plan and design the project carefully. Consider the size and shape of the table, the type of wood you will use, and the style and design of the table. You can find many free plans and designs online, or you can purchase a plan from a reputable source like Ted Woodworking. Make sure to choose a design that suits your needs and skill level.
When planning your patio table, consider the following factors:
- The size of the table: Consider the space where the table will be placed and the number of people it will seat.
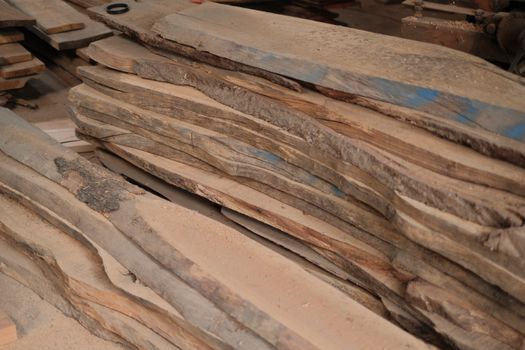
- The type of wood: Choose a durable and weather-resistant wood, such as cedar, teak, or eucalyptus.
- The style and design: Consider the style of your outdoor space and the design of the table. You can choose a simple and modern design or a more complex and traditional design.
Materials and Tools Needed
To build a wooden patio table, you will need the following materials and tools:
- 2 x 4 lumber for the frame
- 3/4 inch plywood for the table top
- Wood screws and nails
- Wood glue
- Sandpaper and a drill
- A saw and a miter saw
- A tape measure and a square
Make sure to choose high-quality materials that are suitable for outdoor use. Use pressure-treated wood for the frame and weather-resistant wood for the table top.
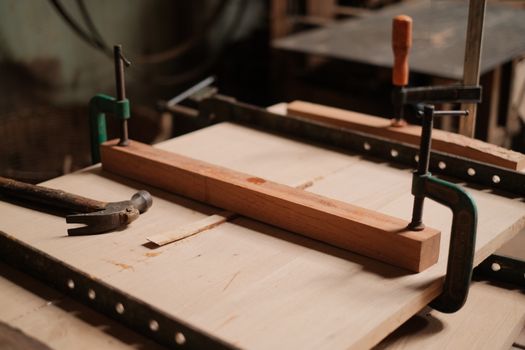
Construction
Once you have planned and prepared your materials, you can start constructing your patio table. Follow these steps:
- Assemble the frame: Use wood screws to assemble the frame of the table. Make sure it is square and sturdy.
- Attach the table top: Use wood screws to attach the table top to the frame. Make sure it is level and secure.
- Add the legs: Attach the legs to the frame, making sure they are level and secure.
- Sand and finish: Sand the table to smooth out any rough edges and apply a finish, such as stain or sealant, to protect the wood.
Finishing Touches
Once your patio table is constructed, you can add the finishing touches. Consider adding a umbrella hole or a built-in ice bucket to make your table more functional. You can also add a decorative trim or a coat of paint to give your table a personalized touch.
Conclusion
Building a wooden patio table is a fun and rewarding DIY project that can add a personal touch to your outdoor space. With the right tools and materials, you can create a beautiful and functional table that will last for years to come. Remember to plan and design your project carefully, choose high-quality materials, and follow the construction and finishing steps carefully.
Frequently Asked Questions
Here are some frequently asked questions about building a wooden patio table:
- Q: What type of wood is best for a patio table? A: The best type of wood for a patio table is a durable and weather-resistant wood, such as cedar, teak, or eucalyptus.
- Q: How long does it take to build a patio table? A: The time it takes to build a patio table depends on the complexity of the design and the skill level of the builder. It can take anywhere from a few hours to several days to complete the project.
- Q: Can I build a patio table without any experience? A: Yes, you can build a patio table without any experience, but it's essential to follow a plan and instructions carefully and to use the right tools and materials.
Want 16,000+ Furniture Plans?
Get instant access to step-by-step plans with blueprints, cut lists, and material lists.
Get Instant Access →