Introduction to DIY Wooden Tool Cabinet
Having a well-organized workshop is essential for any woodworking enthusiast or professional. A DIY wooden tool cabinet can help keep your tools and equipment within easy reach, making your work more efficient and enjoyable. In this article, we will guide you through the process of building a wooden tool cabinet for your workshop.
Planning and Design
Before you start building your tool cabinet, you need to plan and design it. Consider the size of your workshop, the type of tools you have, and the amount of storage space you need. You can find many plans and designs online, including Ted Woodworking, which offers a wide range of woodworking plans. Make sure to choose a design that fits your needs and skill level.
When designing your tool cabinet, consider the following factors:
- Size: Determine the size of your tool cabinet based on the space available in your workshop and the number of tools you need to store.
- Material: Choose a type of wood that is durable and suitable for your workshop environment.
- Shelves: Decide on the number of shelves you need and the type of shelving system you want to use.
- Doors: Choose a door style that fits your design and provides easy access to your tools.
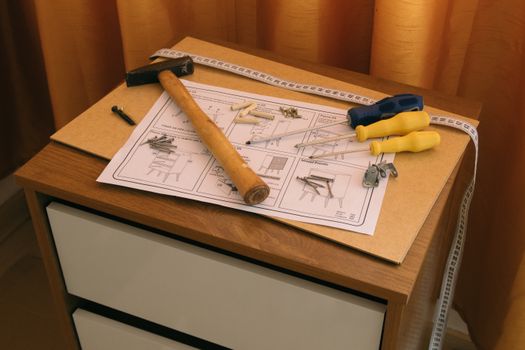
Materials and Tools Needed
To build a wooden tool cabinet, you will need the following materials and tools:
- Wood (e.g., plywood, MDF, or solid wood)
- Wood glue
- Nails or screws
- Hinges
- Handles
- Sandpaper
- Paint or stain (optional)
- Power tools (e.g., table saw, miter saw, drill)
- Hand tools (e.g., hammer, tape measure, square)
Building the Tool Cabinet
Once you have planned and designed your tool cabinet, it's time to start building. Follow these steps:
- Cut the wood according to your design and plans.
- Assemble the cabinet frame using nails or screws.
- Attach the shelves and doors.
- Sand and finish the cabinet with paint or stain (if desired).
- Install the hardware (e.g., hinges, handles).
Tips and Variations
Here are some tips and variations to consider when building your tool cabinet:
- Use a modular design to make it easy to add or remove shelves and compartments.
- Add a lock to secure your tools and equipment.
- Use a pegboard to hang frequently used tools.
- Install a power strip or outlet to charge your power tools.
Conclusion
Building a DIY wooden tool cabinet is a great way to organize your workshop and keep your tools within easy reach. With careful planning and design, you can create a custom tool cabinet that meets your needs and fits your style. Remember to follow safety guidelines and use proper techniques when working with power tools and building your cabinet.
Frequently Asked Questions
Here are some frequently asked questions about building a DIY wooden tool cabinet:
- Q: What type of wood is best for building a tool cabinet?
- A: The best type of wood for building a tool cabinet depends on your budget, desired durability, and personal preference. Popular options include plywood, MDF, and solid wood.
- Q: How much does it cost to build a DIY wooden tool cabinet?
- A: The cost of building a DIY wooden tool cabinet varies depending on the materials and tools you choose. On average, you can expect to spend between $100 and $500.
- Q: What are some common mistakes to avoid when building a tool cabinet?
- A: Common mistakes to avoid when building a tool cabinet include poor planning, inadequate materials, and improper assembly. Make sure to follow your plans carefully and use proper techniques to ensure a sturdy and functional cabinet.
Want 16,000+ Furniture Plans?
Get instant access to step-by-step plans with blueprints, cut lists, and material lists.
Get Instant Access →