Introduction to DIY Wooden Chalkboard Easel Plans
Building a wooden chalkboard easel is a fun and rewarding DIY project that can provide hours of entertainment for your kids. With a few simple tools and some basic woodworking skills, you can create a sturdy and functional easel that will withstand the test of time. In this article, we will provide you with a step-by-step guide on how to build a DIY wooden chalkboard easel.
Materials Needed
To build a wooden chalkboard easel, you will need the following materials:
- 2 pieces of 2x4 lumber for the legs and frame
- 1 piece of 1/2 inch plywood for the chalkboard
- 1 piece of 1x4 lumber for the shelf
- Wood glue
- 2 1/4 inch screws
- 1 1/4 inch screws
- Chalkboard paint
- Paintbrushes
- Sandpaper
Tools Needed
To build a wooden chalkboard easel, you will need the following tools:
- Table saw or circular saw for cutting lumber
- Drill press or hand drill for drilling screw holes
- Impact driver or screwdriver for driving screws
- Sander for sanding the wood
- Paintbrushes for applying chalkboard paint
Step-by-Step Instructions
Now that we have covered the materials and tools needed, let's move on to the step-by-step instructions for building a DIY wooden chalkboard easel.
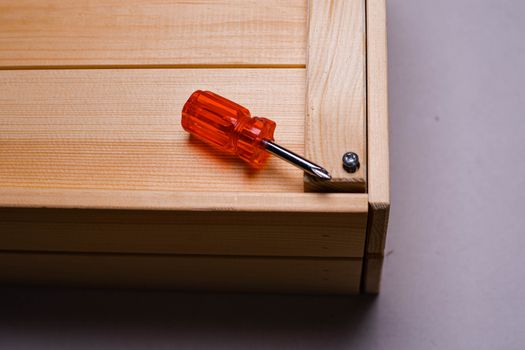
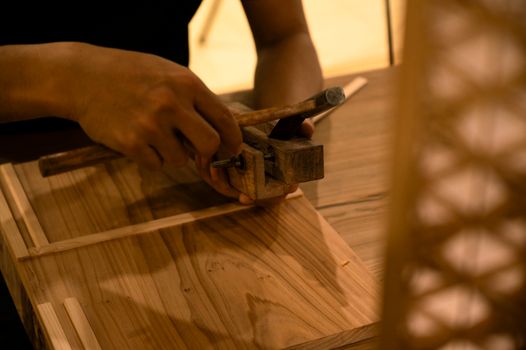
First, cut the 2x4 lumber into the required pieces for the legs and frame. Use a table saw or circular saw to make the cuts. Then, use a drill press or hand drill to drill screw holes in the legs and frame.
Next, assemble the legs and frame using 2 1/4 inch screws. Make sure the corners are square and the frame is sturdy. Then, attach the 1/2 inch plywood chalkboard to the frame using 1 1/4 inch screws.
After that, cut the 1x4 lumber into the required piece for the shelf. Attach the shelf to the frame using 1 1/4 inch screws. Then, sand the entire easel to smooth out any rough edges or splinters.
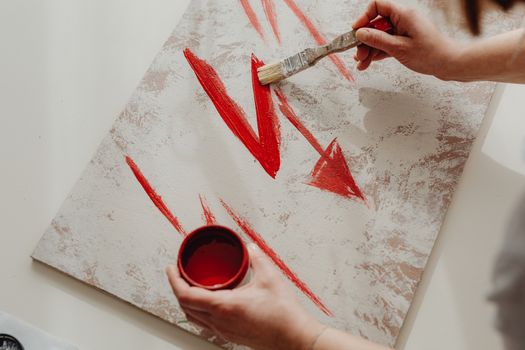
Finally, apply a coat of chalkboard paint to the plywood chalkboard. Use a paintbrush to apply the paint, and make sure to follow the manufacturer's instructions.
Tips and Variations
There are several ways you can customize your DIY wooden chalkboard easel to suit your needs. For example, you can add a tray or bucket to hold chalk and other art supplies. You can also add a paper roll holder to the side of the easel.
If you are looking for more complex plans, you can check out Ted Woodworking for a wide range of DIY woodworking plans. They have a vast collection of plans for different projects, including furniture, decorations, and toys.
Conclusion
Building a DIY wooden chalkboard easel is a fun and rewarding project that can provide hours of entertainment for your kids. With the right materials and tools, you can create a sturdy and functional easel that will withstand the test of time. Remember to always follow safety guidelines and use proper techniques when working with power tools.
Frequently Asked Questions
Here are some frequently asked questions about DIY wooden chalkboard easels:
- Q: What type of wood is best for building a chalkboard easel? A: The best type of wood for building a chalkboard easel is a durable and sturdy wood such as oak or maple.
- Q: How do I attach the chalkboard to the frame? A: You can attach the chalkboard to the frame using 1 1/4 inch screws. Make sure to drill pilot holes first to avoid splitting the wood.
- Q: Can I add a whiteboard to the easel instead of a chalkboard? A: Yes, you can add a whiteboard to the easel instead of a chalkboard. Simply attach the whiteboard to the frame using the same method as the chalkboard.
Want 16,000+ Furniture Plans?
Get instant access to step-by-step plans with blueprints, cut lists, and material lists.
Get Instant Access →