How to Construct a Wooden Picnic Table for Family Gatherings
Summer is the perfect season for family gatherings, and what better way to enjoy the outdoors than with a sturdy, handcrafted wooden picnic table? A picnic table not only serves as a functional piece of outdoor furniture but also adds charm to your backyard. In this guide, we will walk you through the process of constructing a wooden picnic table while keeping your budget in check.
Choosing the Right Materials
When constructing a wooden picnic table, the choice of materials is crucial. Selecting budget-friendly options can help you save money while still ensuring durability. Here are some material suggestions:
- Pressure-Treated Lumber: This is an affordable option that resists rot and insects, making it ideal for outdoor use.
- Cedar or Redwood: While slightly more expensive, these woods are naturally resistant to decay and insects. If you can find them on sale or as remnants, they can be a great choice.
- Reclaimed Wood: Consider sourcing reclaimed wood from old pallets or furniture. This not only saves money but also gives your picnic table a unique character.
Tools You Will Need
Before starting your project, make sure you have the following tools:
- Measuring tape
- Saw (circular saw or miter saw)
- Drill with drill bits
- Screwdriver
- Sandpaper or a power sander
- Wood clamps
- Level
Step-by-Step Construction Guide
Follow these steps to construct your picnic table:
Step 1: Planning and Measuring
Determine the size of your picnic table based on your available space and the number of people you want to accommodate. A standard picnic table is usually 6 feet long and 30 inches wide. Sketch your design, marking all necessary measurements.
Step 2: Cutting the Wood
Using your saw, cut the following pieces:
- 2 pieces of 2x4 lumber for the tabletop (6 feet long)
- 4 pieces of 2x4 lumber for the table supports (5 feet long)
- 2 pieces of 4x4 lumber for the table legs (30 inches long)
- 2 pieces of 2x4 lumber for the cross supports (5 feet long)
- Additional 2x4 pieces for the bench seating (6 feet long each)
Step 3: Assembling the Tabletop
Begin by laying out the two tabletop pieces parallel to each other. Use wood clamps to hold them in place. Attach the support pieces across the tabletop using screws, ensuring they are evenly spaced. This will provide stability.
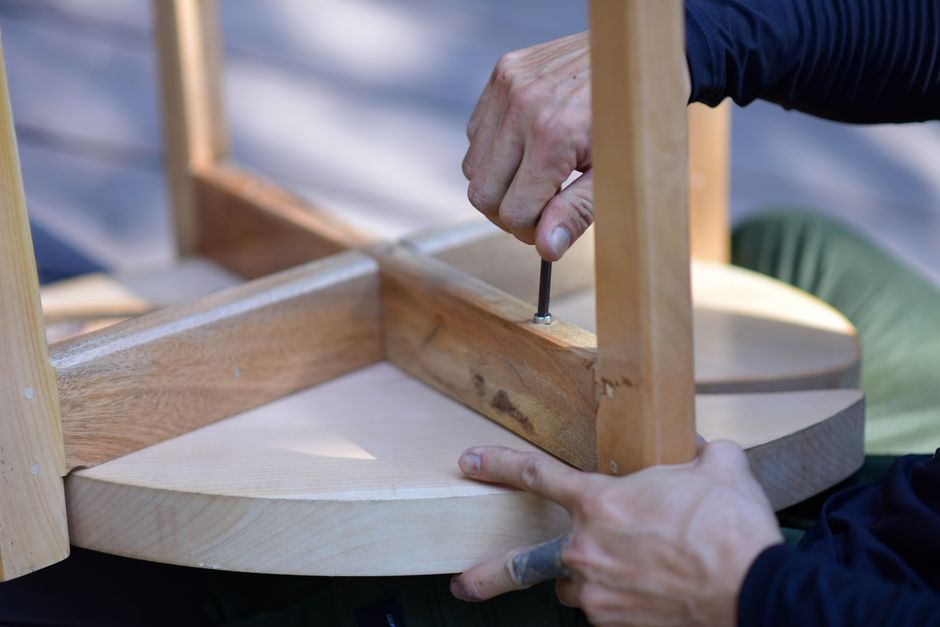
Step 4: Attaching the Legs
Take the 4x4 legs and position them at each corner of the table. Use the drill to secure them with screws. Make sure your table is level before tightening all screws. For added stability, attach the cross supports between the legs.
Step 5: Building the Benches
Construct the benches using the same method as the tabletop. Attach the 2x4 seating pieces to the supports and ensure they are well secured. The benches should be at a comfortable height, generally around 18 inches off the ground.
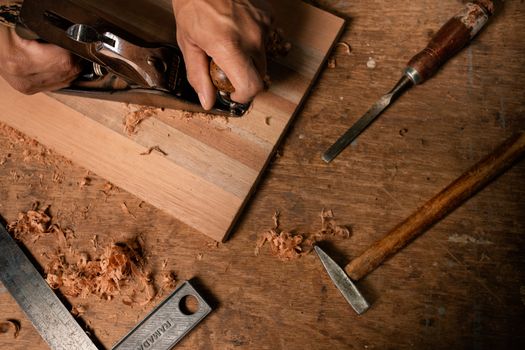
Step 6: Sanding and Finishing
Once assembled, use sandpaper or a power sander to smooth out any rough edges. This will help avoid splinters. After sanding, apply a weather-resistant sealant or stain to protect your picnic table from the elements and enhance its appearance.
Cost-Saving Tips
Building a picnic table on a budget doesn't mean you have to compromise on quality. Here are some cost-saving tips:
- Shop Sales and Discounts: Look for sales at local lumber yards, or check big-box hardware stores for clearance items or discounted wood.
- DIY vs. Ready-Made: Buying a ready-made picnic table may be easier but can be significantly more expensive. Building your own saves you money and allows for customization.
- Use Leftover Materials: If you have leftover lumber from previous projects, incorporate it into your picnic table design.
- Consider DIY Plans: Utilize resources like Ted Woodworking for comprehensive plans to guide your project. This can save time and reduce material waste.
Conclusion
Constructing a wooden picnic table is a rewarding project that your family will enjoy for years to come. By choosing budget-friendly materials and following this simple guide, you can create a beautiful and functional piece of outdoor furniture without breaking the bank. Gather your family for a wonderful picnic on your new table, and make lasting memories!
FAQ
1. How long does it take to build a picnic table?
Depending on your skill level and the complexity of your design, building a picnic table can take anywhere from a few hours to a full day.
2. Can I customize the design of my picnic table?
Absolutely! You can modify the dimensions, add decorative elements, or even change the style of the legs to fit your personal preferences.
3. How do I maintain my picnic table?
Regularly clean the table and apply a weatherproof sealant every couple of years to protect it from the elements and extend its life.
📚 Related Articles
🔨 Want 16,000+ Woodworking Plans?
Get instant access to step-by-step plans with blueprints and cut lists.
Get Instant Access →