How to Build a Simple Wooden Toy for Your Child: Beginner Guide
Building a wooden toy for your child is not only a rewarding experience but also a great way to introduce them to the joy of handcrafted items. This beginner guide will walk you through the steps of creating a simple wooden toy, while highlighting common mistakes to avoid and providing troubleshooting tips along the way. Let’s dive in!
Choosing Your Design
The first step in any woodworking project is to choose a design. For beginners, it’s best to start with something simple. A wooden car, block set, or a pull-along toy can be great options. If you need inspiration or detailed plans, consider checking out Ted Woodworking, which offers a wide range of toy plans suitable for beginners.
Gathering Your Materials
Once you have your design, it’s time to gather your materials. Here’s a list of what you’ll need:
- Softwood (like pine or cedar) for easy cutting
- Wood glue
- Sandpaper (medium and fine grit)
- Wood finish (non-toxic for toys)
- Paint (optional, non-toxic)
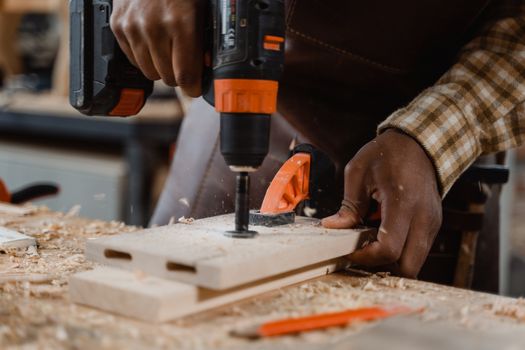
- Tools: saw, drill, clamps, and brushes
Cutting the Wood
With your design and materials in hand, it’s time to start cutting the wood. Here are some tips to ensure a smooth cutting process:
- Measure Twice, Cut Once: Always double-check your measurements before making any cuts. A common mistake is to mismeasure, leading to pieces that don’t fit together.
- Use the Right Tool: Make sure you’re using the appropriate saw for the job. A jigsaw is great for curves, while a miter saw is perfect for straight cuts.
- Cut Slowly: Rushing through cuts can lead to mistakes. Take your time to ensure accuracy.
Assembling the Toy
After cutting your pieces, it’s time to assemble the toy. Here’s how to do it properly:
- Dry Fit First: Before gluing, assemble the pieces without glue to see how they fit. This will help you identify any potential issues.
- Use Wood Glue Generously: Apply enough wood glue to ensure a strong bond, but avoid excessive glue that can squeeze out and create a mess.
- Clamp Securely: Use clamps to hold the pieces together while the glue dries. This prevents shifting and ensures a tight fit.
Sanding and Finishing
Once your toy is assembled and the glue has dried, it’s time to sand and finish it:
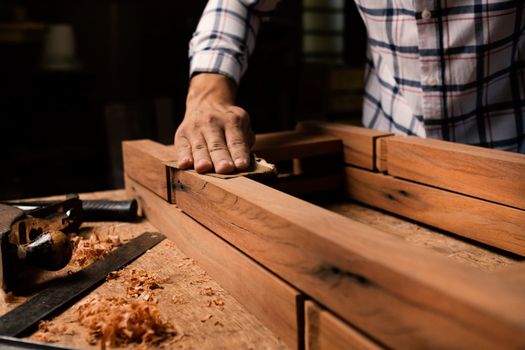
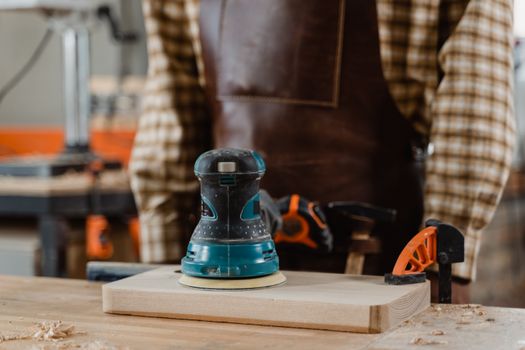
- Start with Medium Grit: Begin with medium-grit sandpaper to smooth out rough edges, then progress to fine-grit for a smoother finish.
- Check for Splinters: Common mistakes at this stage include leaving splinters or rough spots. Make sure the surface is completely smooth to avoid injuries.
- Applying Finish: Use a non-toxic finish or paint that is safe for children. Apply it with a brush or a cloth, making sure to cover all surfaces evenly.
Common Mistakes to Avoid
As a beginner, here are some common pitfalls and how to troubleshoot them:
- Incorrect Measurements: Always double-check your measurements before cutting. If a piece doesn’t fit, consider using wood filler to make adjustments.
- Poor Glue Joints: If your joints are weak, reapply glue and clamp them tightly. Ensure you’re using enough glue for a secure bond.
- Uneven Finishing: If the finish looks blotchy, it may be due to uneven sanding. Make sure to sand thoroughly and apply multiple thin coats of finish for an even look.
Final Touches
After the finish has dried, inspect your toy for any rough edges or spots that need additional sanding. If you’ve painted it, ensure the paint is dry and safe for your child to play with. Finally, consider adding wheels or other moving parts if your design allows for it, which can enhance playability.
Conclusion
Building a simple wooden toy for your child can be a fun and fulfilling project. By following this guide and keeping in mind the common mistakes to avoid, you can create a toy that not only sparks joy in your child but also showcases your woodworking skills. Happy building!
FAQ
- What type of wood is best for making toys? Softwoods like pine or cedar are ideal for beginners as they are easier to cut and shape.
- How can I ensure the toy is safe for my child? Use non-toxic finishes and paints, and sand down all edges to prevent splinters.
- Can I customize the design? Absolutely! Feel free to add personal touches or modify the design to better suit your child's interests.
📚 Related Articles
🔨 Want 16,000+ Woodworking Plans?
Get instant access to step-by-step plans with blueprints and cut lists.
Get Instant Access →