Introduction
Building your own furniture can be a fulfilling and rewarding experience, especially when you start with a simple project like a wooden bench. This beginner's guide will walk you through the process of building a sturdy and stylish bench, while also highlighting common mistakes and offering troubleshooting tips along the way.
Materials and Tools You'll Need
Before you start building your wooden bench, gather the following materials and tools:
- Materials:
- 2x4 lumber (for the frame and seat)
- Wood screws (3-inch screws recommended)
- Wood glue
- Sandpaper (120 and 220 grit)
- Wood finish or paint (optional)
- Tools:
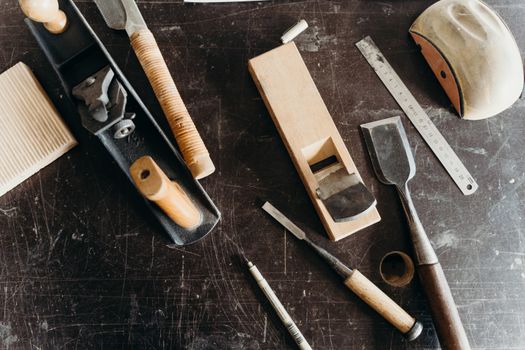
- Measuring tape
- Circular saw or miter saw
- Drill and drill bits
- Square
- Screwdriver
- Clamps
- Safety goggles
Step-by-Step Instructions
Step 1: Measuring and Cutting the Lumber
Start by measuring and cutting your 2x4 lumber. For a basic bench, you will need the following pieces:
- 2 pieces of 2x4 lumber, each 4 feet long (for the bench seat)
- 4 pieces of 2x4 lumber, each 18 inches long (for the bench legs)
- 2 pieces of 2x4 lumber, each 3 feet long (for the bench support beams)
Common Mistake: Not measuring accurately can lead to mismatched pieces. Always double-check your measurements before cutting.
Step 2: Assembling the Frame
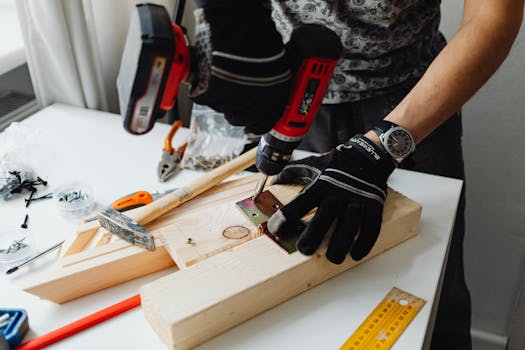
Once you have all your pieces cut, it's time to assemble the frame. Start by laying out the four legs in a rectangular formation. Attach the support beams to the legs using wood screws and wood glue for added strength.
Tip: Use clamps to hold the pieces together while drilling. This ensures everything stays aligned.
Common Mistake: Over-tightening screws can lead to splitting the wood. Tighten just enough to secure the pieces without forcing them.
Step 3: Attaching the Seat
After the frame is secure, lay the two 4-foot pieces of lumber across the top to serve as the bench seat. Space them evenly and attach using wood screws.
Tip: To prevent gaps, ensure that the seat pieces are flush with the edges of the frame.
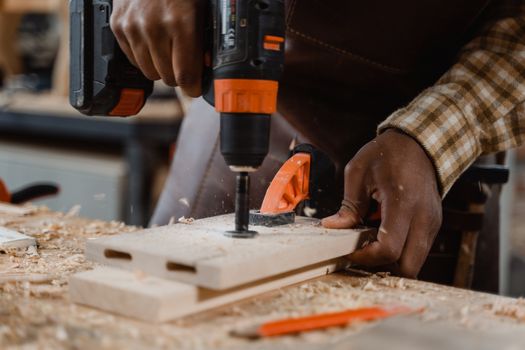
Common Mistake: Forgetting to pre-drill holes can lead to splitting. Always pre-drill before inserting screws, especially in softer woods.
Step 4: Sanding and Finishing
Once the bench is fully assembled, it’s time to sand. Start with 120-grit sandpaper to remove any rough edges, followed by 220-grit for a smooth finish. Pay special attention to corners and edges.
After sanding, you can apply a wood finish or paint for protection and aesthetics.
Common Mistake: Not sanding enough can leave splinters. Always check the surface before applying finish.
Tips for Success
- Read through all instructions before starting to get a feel for the project.
- Take your time and don’t rush through the steps.
- Consider using plans from resources like Ted Woodworking for additional guidance.
Troubleshooting Common Issues
Issue 1: Uneven Legs
If your bench wobbles, it may be due to uneven leg lengths. Measure each leg and trim as necessary to ensure they are all the same height.
Issue 2: Loose Joints
If joints feel loose after assembly, you can add wood glue to reinforce them. Clamp until dry for a stronger bond.
Issue 3: Splitting Wood
If you notice splitting at any screw holes, you may need to pre-drill larger holes or use screws with a finer thread for a tighter grip.
Conclusion
Building a simple wooden bench is a fantastic way to start your woodworking journey. By following the steps outlined in this guide and being aware of common mistakes, you're well on your way to creating a beautiful and functional piece of furniture. Remember to take your time, and don’t hesitate to seek out additional resources like Ted Woodworking for further assistance.
FAQ
What type of wood is best for a beginner bench project?
Pine and cedar are great choices for beginners due to their softness and ease of work. They are also affordable and readily available.
How long will it take to build a simple wooden bench?
Depending on your skill level and the complexity of the design, it might take anywhere from a few hours to a full day.
Can I customize my bench design?
Absolutely! Once you master the basics, feel free to experiment with different sizes, shapes, and finishes to make it your own.
📚 Related Articles
🔨 Want 16,000+ Woodworking Plans?
Get instant access to step-by-step plans with blueprints and cut lists.
Get Instant Access →