Introduction
Building a DIY headboard is a fantastic way to enhance your bedroom's aesthetic while also adding a personal touch to your space. This project is ideal for beginners, requiring minimal tools and materials. In this comprehensive guide, we'll walk you through the steps to create a beautiful and functional headboard that complements your bed.
Materials Needed
Before diving into the construction, gather the following materials:
- 3/4 inch plywood (for the headboard base)
- 2x4 lumber (for the support frame)
- Wood screws
- Wood glue
- Sandpaper (medium and fine grit)
- Paint or wood stain (optional)
- Upholstery fabric (if desired)
- Batting (if covering with fabric)
Tools Required
For this project, you'll need the following tools:
- Measuring tape
- Circular saw (or hand saw)
- Drill
- Screwdriver
- Stapler (if using fabric)
- Level
- Clamps
Step-by-Step Instructions
Step 1: Measure Your Bed
Start by measuring the width of your bed. A standard headboard is typically about the same width as the bed frame, but you can customize it to be wider if you prefer.
Step 2: Cut the Plywood
Using your circular saw, cut a piece of plywood to your desired width and height for the headboard. A common height is between 36 to 48 inches, depending on your style preference.
Step 3: Create the Support Frame
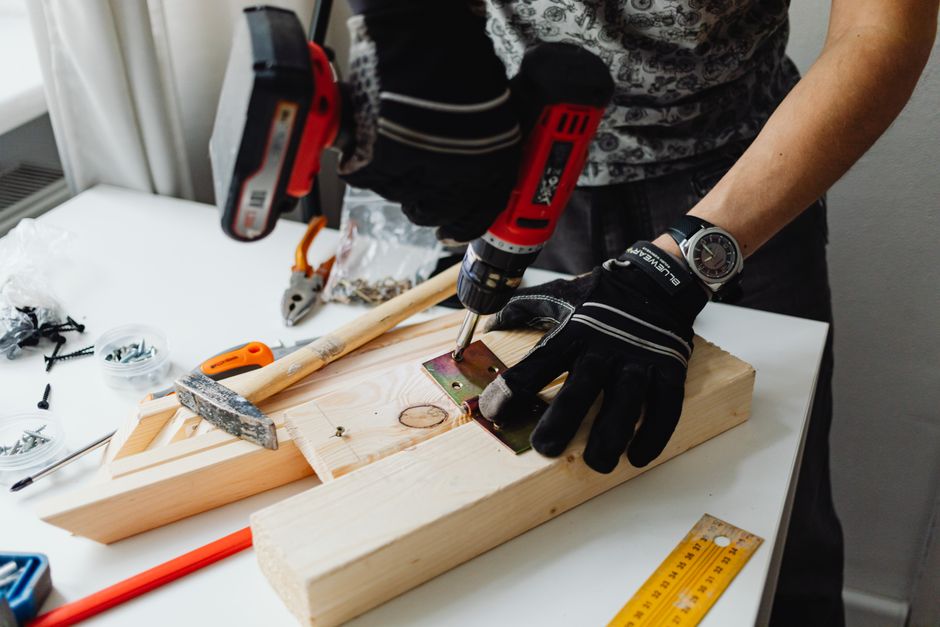
Next, cut the 2x4 lumber into two pieces that are the same width as the plywood and two pieces that are the desired height of the headboard. Assemble the frame by attaching the vertical pieces to the horizontal ones using wood screws and wood glue for added strength.
Step 4: Attach the Plywood to the Frame
Once the frame is assembled, place the plywood on top of the frame and secure it using wood screws. Make sure to countersink the screws so they don’t stick out.
Step 5: Sand the Edges
Using medium and then fine grit sandpaper, smooth the edges and surface of the headboard. This step is crucial for ensuring a nice finish and preventing splinters.
Step 6: Paint or Stain (Optional)
If you want to add color or enhance the natural wood grain, now is the time to paint or stain your headboard. Choose a color that complements your bedroom decor.
Step 7: Upholster the Headboard (Optional)
If you prefer a softer look, you can upholster your headboard. Lay batting over the plywood, followed by your chosen fabric. Use a stapler to secure the fabric to the back of the plywood, making sure to pull it tight as you work around the edges.
Step 8: Attach the Headboard to Your Bed Frame
Once your headboard is complete, position it against the wall or attach it to your bed frame. If securing to the wall, use wall anchors and screws to ensure it is stable.
Additional Tips
- For more detailed plans and design ideas, consider checking out Ted Woodworking, which offers a variety of woodworking plans for all skill levels.
- Customize the height and width of your headboard to fit your personal style and bedroom layout.
- Experiment with different fabrics, colors, and textures to create a unique look that fits your personality.
Conclusion
Building a DIY headboard is a rewarding project that not only enhances your bedroom but also allows you to express your creativity. With basic tools and materials, even beginners can successfully complete this project. Enjoy your new headboard, and take pride in your woodworking skills!
FAQ
1. How much does it cost to build a DIY headboard?
The cost can vary depending on the materials you choose, but generally, you can build a headboard for $50 to $150.
2. Can I make a headboard without a frame?
Yes, you can create a simple headboard by attaching plywood directly to the wall, skipping the frame altogether.
3. What type of wood is best for a headboard?
Plywood is a great choice due to its affordability and ease of use, but hardwoods like oak or maple can provide a more durable and elegant finish.
📚 Related Articles
🔨 Want 16,000+ Woodworking Plans?
Get instant access to step-by-step plans with blueprints and cut lists.
Get Instant Access →