Introduction
Creating beautiful wood furniture for your living room requires more than just skill in joinery and design; it also demands precision in sanding and finishing. The final look of your piece hinges on how well you prepare the surface, and this article will delve into advanced techniques that ensure your furniture not only looks stunning but also stands the test of time.
Understanding the Importance of Proper Sanding
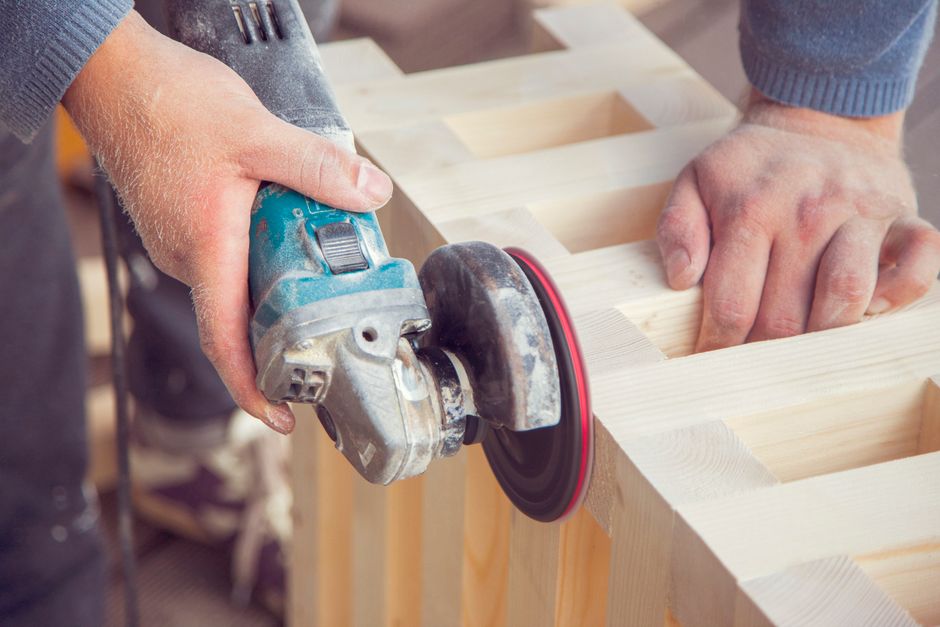
Sanding is a crucial step in the woodworking process, particularly for furniture that will be used frequently. Proper sanding removes imperfections, prepares the wood for finishing, and enhances the overall appearance of the piece. Here are some advanced tips to elevate your sanding technique:
1. Choose the Right Sandpaper Grit
- Coarse Grit (40-60): Ideal for removing roughness and shaping wood.
- Medium Grit (80-120): Perfect for smoothing surfaces after the coarse grit.
- Fine Grit (180-220): Necessary for a smooth finish, especially before applying stain or varnish.
- Extra Fine Grit (320+): Used for final touch-ups and between coats of finish.
2. Sanding Techniques
Employing the right technique can significantly improve the quality of your finish:
- Sand with the Grain: Always sand in the direction of the wood grain to avoid scratches that can show through the finish.
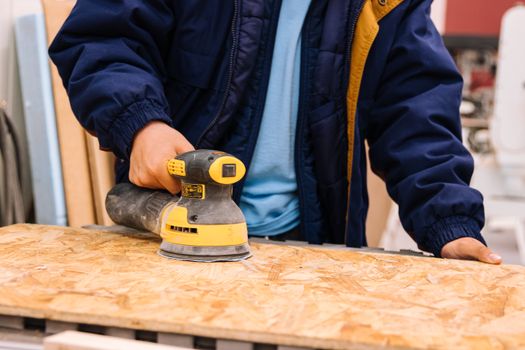
- Use a Random Orbit Sander: This tool is highly effective for achieving a smooth surface without swirl marks.
- Hand Sanding: For intricate areas and edges, hand sanding is essential. Use sanding blocks to maintain even pressure.
- Vacuum and Wipe Down: After sanding, thoroughly vacuum the dust and wipe the surface with a damp cloth to remove any remaining particles.
Advanced Finishing Techniques
Once sanding is complete, it’s time to focus on finishing. A well-applied finish can enhance the beauty of the wood while providing protection. Here are some advanced techniques for achieving a professional finish:
1. Staining Your Furniture
Staining can add depth and richness to the wood. Here’s how to do it right:
- Test First: Always test the stain on a scrap piece of the same wood to see how it reacts.
- Use a Pre-Stain Conditioner: This can help prevent blotchiness in softer woods like pine or birch.
- Apply with a Rag: Use a clean, lint-free rag to apply the stain, working in the direction of the grain.
- Wipe Off Excess: After a few minutes, wipe off any excess stain to achieve a uniform color.
2. Applying the Finish
Choosing the right finish is essential for durability and aesthetics:
- Polyurethane: Provides a tough, protective layer; available in oil-based and water-based options.
- Shellac: Offers a traditional finish with a warm tone but is less durable.
- Varnish: Good for high-traffic areas, it is resistant to moisture and heat.
- Lacquer: Dries quickly and gives a high-gloss finish, perfect for modern designs.
3. The Application Process
Follow these steps for a flawless application:
- Use the Right Tools: A high-quality brush or spray gun can make a significant difference in the finish.
- Thin Your Finish: Thinning with the appropriate solvent (if needed) allows for better absorption and a smoother finish.
- Apply Multiple Coats: For best results, apply 2-3 coats, sanding lightly between each coat with fine grit sandpaper.
- Allow Proper Drying Time: Follow the manufacturer's instructions for drying times to achieve optimal results.
Joinery Techniques for Enhanced Stability
While sanding and finishing are crucial, the stability of your furniture begins with strong joinery. Here are some advanced joinery techniques that will complement your sanding and finishing efforts:
- Dovetail Joints: Known for their strength and aesthetic appeal, these joints are ideal for drawers and boxes.
- Mortise and Tenon Joints: Perfect for framing, they provide excellent structural integrity.
- Box Joints: Offering both strength and visual interest, these joints are great for boxes and cabinets.
- Doweling: Simple yet effective, dowels can reinforce joints and improve alignment.
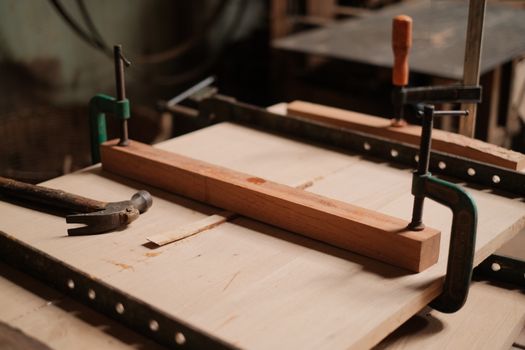
By mastering these joinery techniques, you will not only enhance the strength of your furniture but also create clean lines that make sanding and finishing easier.
Resource for Plans
If you are looking for comprehensive plans for your next project, consider checking out Ted Woodworking. Their extensive collection of woodworking plans can guide you through various furniture styles and techniques, ensuring you achieve professional results.
Conclusion
With the right sanding and finishing techniques, along with a solid foundation in joinery, you can create stunning wood furniture that enhances your living room. By investing time and effort into these advanced skills, you will achieve a professional finish that reflects your craftsmanship and dedication to quality.
FAQs
1. How can I avoid sanding marks on my furniture?
Always sand with the grain and use progressively finer grits. Additionally, ensure that you vacuum and wipe down the surface between each sanding stage to remove dust.
2. What is the best finish for a coffee table?
A durable finish like polyurethane is ideal for a coffee table as it withstands wear and tear. Consider a water-based version for a clearer finish and quicker drying time.
3. How long should I wait between coats of finish?
Waiting times vary by finish type, but generally, allow at least 2-4 hours between coats for water-based finishes and up to 24 hours for oil-based finishes. Always check the manufacturer's instructions for specific guidance.
📚 Related Articles
🔨 Want 16,000+ Woodworking Plans?
Get instant access to step-by-step plans with blueprints and cut lists.
Get Instant Access →