Introduction to Building a Wooden Wardrobe Cabinet
Building a wooden wardrobe cabinet is a great way to add storage and organization to your bedroom or closet. With a few simple tools and some basic woodworking skills, you can create a beautiful and functional piece of furniture that will last for years to come. In this article, we will guide you through the process of building a wooden wardrobe cabinet, from planning and design to construction and finishing.
Planning and Design
Before you start building your wooden wardrobe cabinet, you need to plan and design it. Consider the space where the cabinet will be placed, the type of clothing and items you will be storing, and the style and design you want to achieve. You can find many free plans and designs online, or you can use a resource like Ted Woodworking to find the perfect plan for your needs. Make sure to take precise measurements and create a detailed sketch or drawing of your design.
Materials and Tools Needed
To build a wooden wardrobe cabinet, you will need the following materials and tools:
- 2 x 4 lumber for the frame
- 3/4 inch plywood for the shelves and back panel
- 1 x 4 lumber for the shelves and shelf supports
- Wood glue and nails
- Sandpaper and paint or stain
- A circular saw and drill press for cutting and drilling
- A tape measure and square for measuring and ensuring accuracy
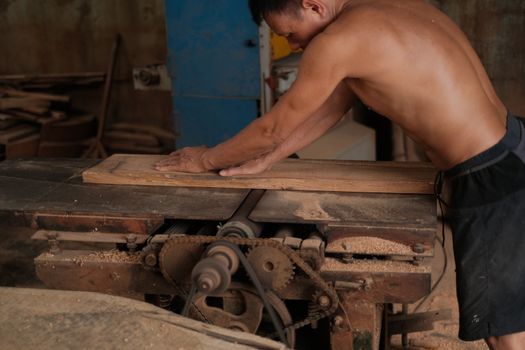
Constructing the Frame
The first step in building your wooden wardrobe cabinet is to construct the frame. Use 2 x 4 lumber to create the sides, top, and bottom of the cabinet. Assemble the frame using wood glue and nails, making sure it is square and sturdy. Use clamps to hold the pieces together while the glue dries.
Adding the Shelves and Back Panel
Once the frame is constructed, you can add the shelves and back panel. Cut the 3/4 inch plywood to the required size and attach it to the frame using wood glue and nails. Make sure the shelves are evenly spaced and the back panel is securely attached.
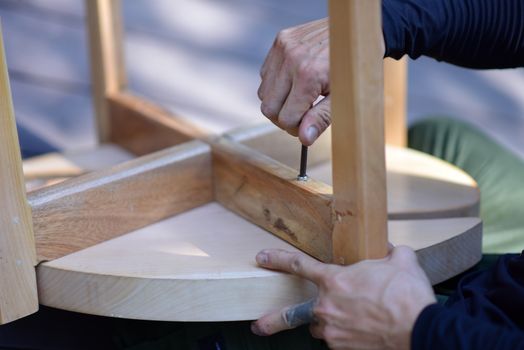
Adding the Doors and Hardware
The next step is to add the doors and hardware to your wooden wardrobe cabinet. You can use hinges and handles to create a functional and stylish door system. Make sure the doors are evenly spaced and align properly with the frame.
Finishing and Decorating
Once the cabinet is constructed, you can finish and decorate it to your liking. Sand the entire cabinet to smooth out any rough edges or surfaces, and apply paint or stain to match your desired color and style. You can also add decorative trim or molding to give your cabinet a unique and personalized touch.
Conclusion
Building a wooden wardrobe cabinet is a fun and rewarding project that can add storage and organization to your bedroom or closet. With the right plans and materials, you can create a beautiful and functional piece of furniture that will last for years to come. Remember to take your time and work carefully, and don't be afraid to ask for help if you need it.
Frequently Asked Questions
Here are a few frequently asked questions about building a wooden wardrobe cabinet:
- What type of wood is best for building a wardrobe cabinet? The type of wood you choose will depend on your personal preference and the style you are trying to achieve. Popular options include oak, pine, and maple.
- How do I ensure my wardrobe cabinet is level and plumb? Use a level and plumb line to ensure your cabinet is properly aligned and level. Make any necessary adjustments before attaching the shelves and back panel.
- Can I build a wardrobe cabinet with sliding doors? Yes, you can build a wardrobe cabinet with sliding doors. This will require additional hardware and planning, but can be a great option for small spaces or unique design needs.
Want 16,000+ Furniture Plans?
Get instant access to step-by-step plans with blueprints, cut lists, and material lists.
Get Instant Access →