Introduction to Building a Wooden Bookcase
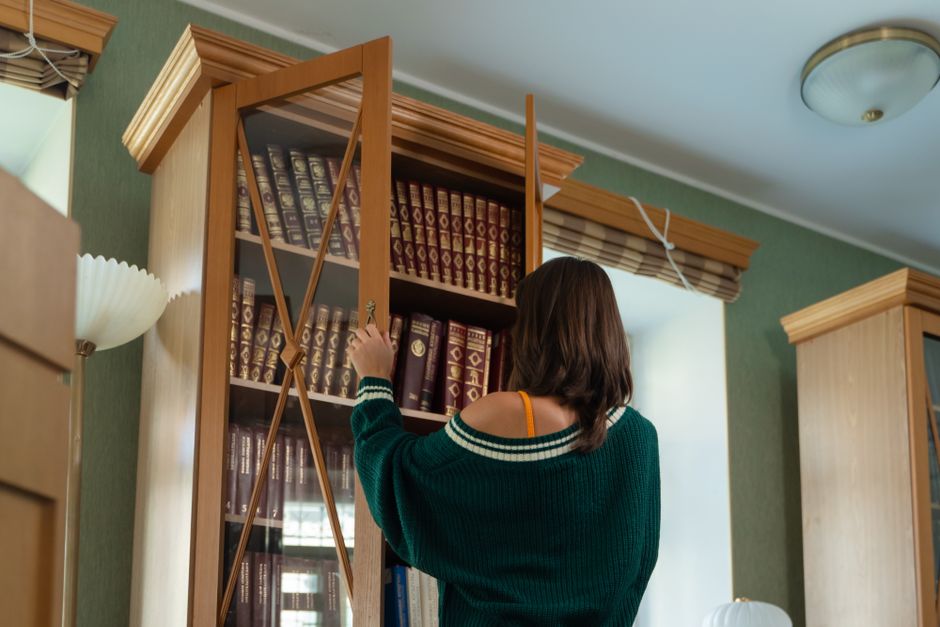
Building a wooden bookcase for your living room can be a fun and rewarding DIY project. Not only will it provide a place to store your books, but it can also be a beautiful piece of furniture that adds to the overall aesthetic of your room. In this article, we will guide you through the process of building a wooden bookcase, from planning and designing to cutting and assembling the wood.
Planning and Designing Your Bookcase
Before you start building your bookcase, you need to plan and design it. Consider the size of your room, the type of wood you want to use, and the style of your bookcase. You can find many plans and designs online, including on websites such as Ted Woodworking, which offers a wide range of woodworking plans. Make sure to choose a design that fits your needs and skill level.
When planning your bookcase, consider the following factors:
- The size of the bookcase: Determine how tall and wide you want your bookcase to be. Make sure it fits in the space where you plan to put it.
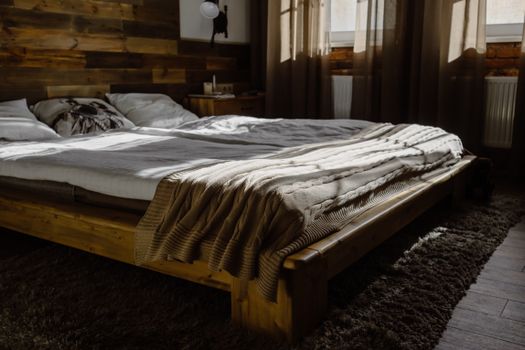
- The type of wood: Choose a type of wood that is suitable for your bookcase. Consider the color, grain, and durability of the wood.
- The style of the bookcase: Decide on the style of your bookcase. Do you want it to be modern, traditional, or rustic?
Cutting and Assembling the Wood
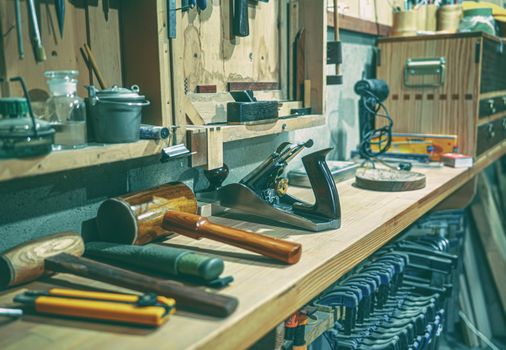
Once you have planned and designed your bookcase, it's time to start cutting and assembling the wood. You will need the following tools:
- A table saw or circular saw: For cutting the wood to the right size.
- A drill press: For drilling holes for the screws.
- A sander: For smoothing out the wood.
- A hammer: For tapping the pieces into place.
Follow these steps to cut and assemble the wood:
- Cut the wood to the right size using a table saw or circular saw.
- Drill holes for the screws using a drill press.
- Assemble the bookcase by tapping the pieces into place using a hammer.
- Use screws to secure the pieces together.
Adding Shelves and Finishing Touches
Once the bookcase is assembled, you can add shelves and finish the bookcase. You can use adjustable shelves to make the bookcase more versatile. To add shelves, follow these steps:
- Cut the shelves to the right size using a table saw or circular saw.
- Drill holes for the screws using a drill press.
- Assemble the shelves by tapping them into place using a hammer.
- Use screws to secure the shelves to the bookcase.
To finish the bookcase, you can stain or paint it to match the color of your room. You can also add a clear coat to protect the wood and give it a glossy finish.
Conclusion
Building a wooden bookcase for your living room can be a fun and rewarding DIY project. With the right plans and tools, you can create a beautiful piece of furniture that adds to the overall aesthetic of your room. Remember to plan and design your bookcase carefully, and don't be afraid to ask for help if you need it.
Frequently Asked Questions
Here are some frequently asked questions about building a wooden bookcase:
- Q: What type of wood is best for building a bookcase?
- A: The best type of wood for building a bookcase depends on your personal preference and the style of your bookcase. Popular types of wood include oak, maple, and cherry.
- Q: How do I ensure that my bookcase is level?
- A: To ensure that your bookcase is level, use a level tool to check the bookcase as you assemble it. Make any necessary adjustments to the legs or shelves to ensure that the bookcase is level.
- Q: Can I build a bookcase without any experience?
- A: Yes, you can build a bookcase without any experience. However, it's recommended that you start with a simple design and follow the instructions carefully. You can also consider seeking help from a more experienced woodworker or taking a class to learn the basics of woodworking.
Want 16,000+ Furniture Plans?
Get instant access to step-by-step plans with blueprints, cut lists, and material lists.
Get Instant Access →