Introduction
Are you looking to enhance your dining room decor with a beautiful, handcrafted piece? A DIY rustic dining table can be the perfect addition, providing both functionality and charm. In this guide, we will walk you through easy DIY rustic dining table plans, offering a step-by-step guide to help you create a stunning centerpiece for your home. Not only will you enjoy the process of building furniture, but you'll also have a unique, affordable rustic dining table that reflects your personal style.
Step-by-Step Guide: How to Build a Rustic Dining Table
Creating your own rustic dining table is an exciting DIY home project that can be completed with some basic tools and materials. Follow this step-by-step rustic dining table guide to ensure a successful build.
Materials Needed
- Wood planks (best wood for rustic dining tables include pine, oak, or reclaimed wood)
- Wood screws
- Wood glue
- Sandpaper (various grits)
- Finish (stain or sealant)
- Table legs (you can build these or purchase pre-made ones)
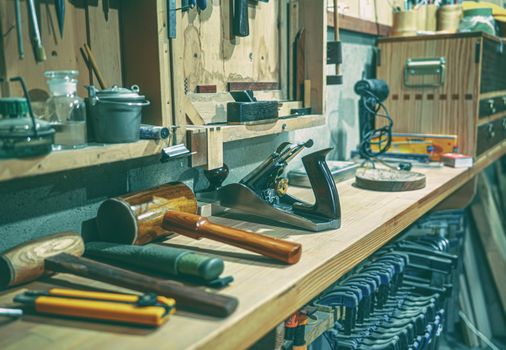
Tools Required
- Table saw or circular saw
- Drill
- Measuring tape
- Clamps
- Safety goggles
Step 1: Planning Your Table Design
Before you start cutting wood, sketch out your rustic dining table designs for beginners. Determine the size and shape you want your table to be. Consider whether you want a rectangular or round design and how many people you wish to seat.
Step 2: Cutting the Wood
Using your measurements, cut the wood planks to the desired lengths. The tabletop typically consists of several planks laid side by side. Make sure to cut the legs at equal lengths for stability.
Step 3: Assembling the Tabletop
Lay the planks side by side to form the tabletop. Apply wood glue between each plank and secure them with clamps. Allow the glue to dry as per the manufacturer's instructions. Once dried, reinforce the joints with wood screws from underneath.
Step 4: Attaching the Legs
If you are using pre-made legs, attach them to each corner of the table using wood screws. If you are constructing your legs, ensure they are sturdy and can support the weight of the tabletop.
Step 5: Sanding and Finishing
Once assembled, sand the entire table starting with coarse sandpaper and finishing with a fine grit. This will give your rustic dining table a smooth surface. Finally, apply your chosen finish to protect the wood and enhance its appearance.
Practical Tips for Building Your Rustic Dining Table
- Use Sustainable Materials: Consider sourcing reclaimed wood for a truly unique and eco-friendly table.
- Take Your Time: Don’t rush the process. Ensure each step is completed correctly for a high-quality finish.
- Personalize Your Design: Add unique details such as distressed finishes or decorative hardware for a custom touch.
FAQs
1. What is the best wood for rustic dining tables?
The best wood for rustic dining tables typically includes pine, oak, or reclaimed wood. Each type has its unique characteristics that contribute to a rustic aesthetic.
2. Can I find affordable rustic dining table ideas?
Yes! There are many affordable rustic dining table ideas available online, including using reclaimed wood or repurposing old furniture.
3. Where can I learn more woodworking projects?
For more detailed plans and resources, consider exploring Ted's Woodworking, which offers comprehensive guides and plans for various woodworking projects.
Conclusion
Building your own rustic dining table is not only a rewarding home improvement project but also a way to add a personal touch to your dining room. With these easy DIY rustic dining table plans, you can create a beautiful piece that will serve as a centerpiece for years to come. For more woodworking inspiration, check out our article on How to Build a Wooden China Cabinet: A Step-by-Step Guide.
🔨 Want 16,000+ Woodworking Plans?
Ted's Woodworking gives you instant access to over 16,000 step-by-step plans with detailed blueprints, cut lists, and material lists for every project.
Get Instant Access →