How to Achieve a Scandinavian Look with DIY Wood Projects
The Scandinavian design aesthetic is characterized by its simplicity, functionality, and connection to nature. When it comes to living room furniture, this style emphasizes clean lines, minimalism, and a bright, airy feel. If you're looking to incorporate this aesthetic into your home, DIY wood projects can be a rewarding way to create custom pieces that reflect your taste. This article will delve into advanced techniques focusing on joinery, precision, and achieving a professional finish.
Understanding the Scandinavian Aesthetic
Before you begin your DIY journey, it's essential to understand the key elements of Scandinavian design:
- Minimalism: Scandinavian design favors a clean, uncluttered look.
- Functionality: Every piece of furniture should serve a purpose.
- Natural Materials: Emphasis on wood, textiles, and other organic materials.
- Light and Airy: Bright colors, especially whites, and light woods enhance space.
Choosing the Right Wood
Scandinavian furniture often features light woods such as birch, pine, and ash. These woods not only provide a beautiful finish but also resonate with the natural aesthetic. For your projects:
- Birch: Known for its smooth texture and light color, birch is ideal for a clean look.
- Pine: This affordable wood is soft, easy to work with, and can be stained or painted to achieve various finishes.
- Ash: With its unique grain patterns, ash adds character while maintaining a light appearance.
Advanced Joinery Techniques
One of the hallmarks of professional-grade furniture is the joinery. Here are some advanced techniques that elevate the craftsmanship of your Scandinavian-style projects:
1. Mortise and Tenon Joints
This classic joint provides incredible strength and durability. To create a mortise and tenon joint:
- Measure and mark the dimensions on both pieces of wood.
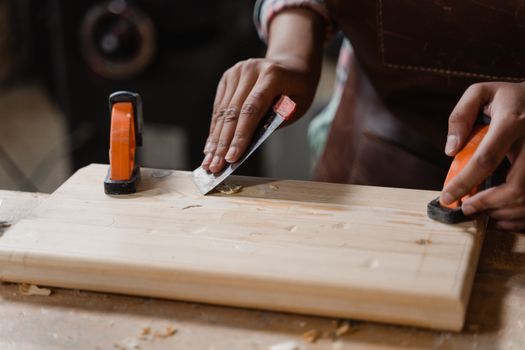
- Use a chisel to create the mortise hole on one piece.
- Cut the tenon on the other piece to fit snugly into the mortise.
- Glue and clamp the joint for a strong bond.
2. Dovetail Joints
Ideal for drawer construction, dovetail joints are both functional and visually appealing. To achieve a perfect dovetail joint:
- Mark the pins and tails accurately on the wood.
- Use a dovetail saw for precise cuts.
- Assemble the joint with wood glue and clamp until dry.
3. Pocket Hole Joinery
For quick and hidden joints, pocket hole joinery is an excellent option. It’s particularly useful for assembling frames or attaching tabletops:
- Drill pocket holes at an angle using a pocket hole jig.
- Align the pieces and secure them with screws.
- This method is efficient and maintains a clean aesthetic.
Precision and Attention to Detail
Achieving the Scandinavian look requires precision. Here are some tips to enhance your woodworking skills:
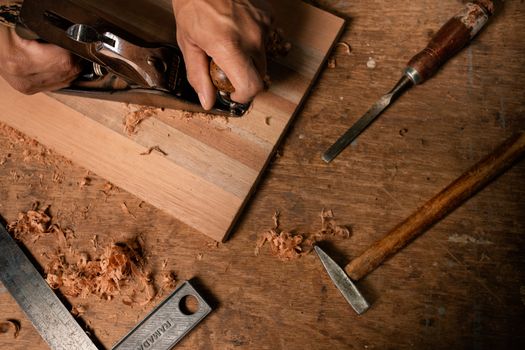
- Use Quality Tools: Invest in high-quality saws, chisels, and measuring tools. Accurate cuts and measurements are crucial.
- Sand Thoroughly: A smooth finish is vital. Start with coarse sandpaper and gradually move to finer grits for a professional touch.
- Pay Attention to Proportions: Ensure your designs have the right proportions. Use sketches or CAD software to visualize dimensions before cutting.
Finishing Techniques for a Professional Look
The finish can make or break your project. Here are some effective techniques to achieve a professional finish:
1. Staining and Sealing
Staining enhances the natural beauty of the wood while sealing protects it from wear. Follow these steps:
- Choose a stain that complements the Scandinavian aesthetic; light, natural tones work best.
- Apply the stain with a brush or cloth, following the wood grain.
- After drying, apply a clear sealant to protect the surface.
2. Painting
For a more modern touch, consider painting your furniture:
- Use a high-quality primer before applying paint to ensure an even finish.
- Opt for matte or satin finishes for a sophisticated look.
- Consider soft pastel colors or classic whites that align with the Scandinavian palette.
3. Final Sanding and Buffing
After your finish has dried, a final sanding can enhance smoothness:
- Use very fine sandpaper to buff the surface gently.
- For an extra sheen, consider buffing with a cloth or using a polishing compound.
Resources for Your DIY Projects
If you’re looking for detailed plans and inspiration, consider using Ted Woodworking. This resource offers a vast collection of woodworking plans that can guide you in creating beautiful Scandinavian-style furniture.
Conclusion
Creating Scandinavian-style furniture in your living room can be a fulfilling project. By focusing on advanced joinery techniques, precision, and professional finishing, you can craft pieces that not only look great but are also built to last. Embrace the simplicity and functionality of this design philosophy, and enjoy the process of bringing your vision to life.
FAQ
What types of wood are best for Scandinavian furniture?
Light woods such as birch, pine, and ash are ideal for achieving the Scandinavian aesthetic.
How can I ensure precision in my woodworking projects?
Invest in quality tools, take accurate measurements, and practice proper cutting techniques to enhance precision.
What finishes are recommended for a Scandinavian look?
Natural stains, matte paints, and clear sealants are recommended to maintain the light and airy feel of Scandinavian design.
📚 Related Articles
🔨 Want 16,000+ Woodworking Plans?
Get instant access to step-by-step plans with blueprints and cut lists.
Get Instant Access →